12 Quick Fixes for Everyday Kitchen Challenges
The kitchen can sometimes feel like a battleground of unexpected issues, from overcooked rice to stubborn stains on pans. However, with a few clever tricks, you can turn these challenges into opportunities for creative solutions. Whether you’re saving a dish from disaster or tackling a tedious chore with ease, these fixes will help you navigate your kitchen with confidence and efficiency. Here are 12 practical solutions to common kitchen problems that every home cook should know.
1. Rescuing Overcooked Rice
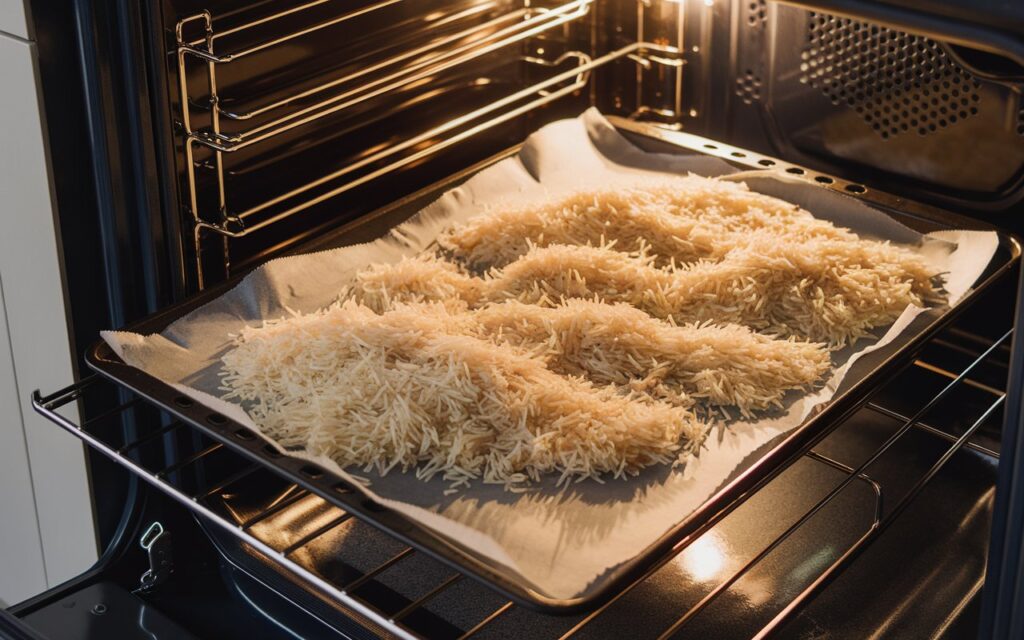
Overcooked rice can quickly turn mushy, but there’s an easy way to salvage it. Spread the rice onto a baking sheet in a thin layer and bake at 180°C (350°F) for 10-15 minutes, stirring occasionally, to evaporate the excess moisture and restore some texture. For added flavor, toss the rice with a teaspoon of olive oil, a pinch of salt, and even some herbs before baking. If the rice is too mushy to recover, don’t toss it, repurpose it into crispy rice pancakes, flavorful fried rice, or even rice pudding for a creative twist.
2. Unclogging a Salt Shaker
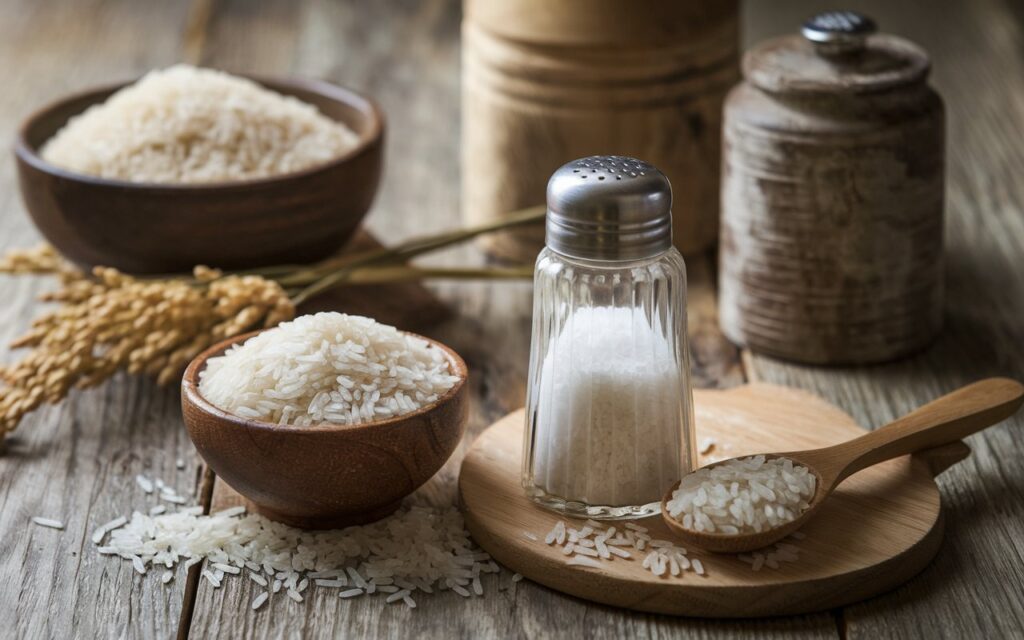
Salt shakers often clog up due to moisture, but there’s a simple way to fix it. Add a few grains of uncooked rice to the shaker. The rice absorbs excess moisture, preventing clumps and allowing the salt to flow freely. For extra effectiveness, ensure the shaker is stored in a dry place, away from steam or humidity. If the salt is already clumped, remove it and clean the shaker thoroughly with warm water. Let it dry completely before refilling to ensure smooth and hassle-free use every time.
3. Softening Hardened Brown Sugar
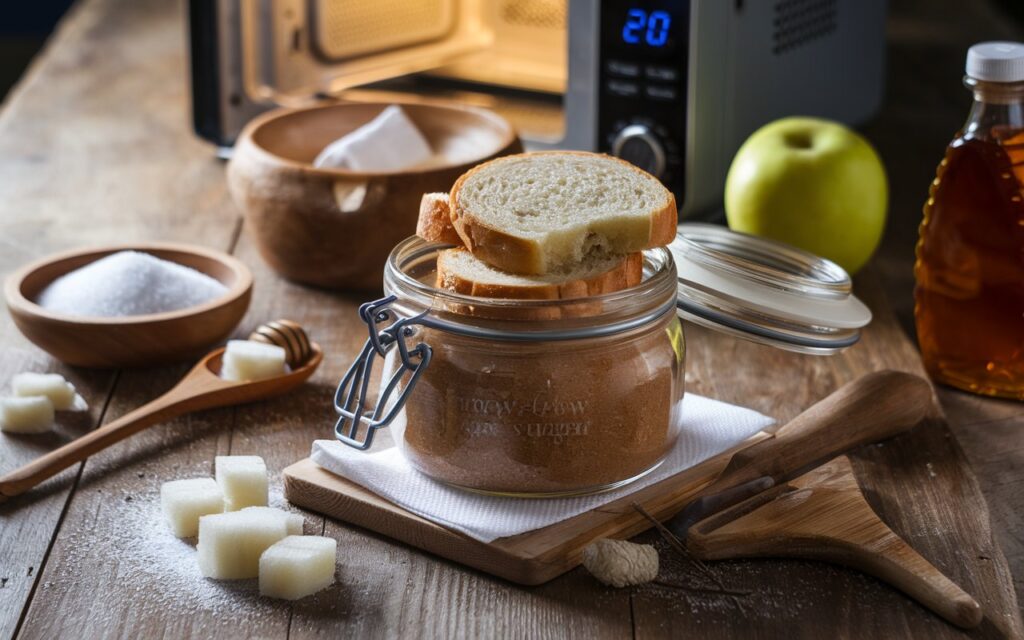
When brown sugar hardens into a solid block, it can seem unusable. To soften it, place a slice of bread or a few apple slices in the sugar container and seal it tightly. Let it sit for a few hours or overnight; the moisture will naturally revive the sugar, making it soft and usable again. For a quicker solution, microwave the sugar in a bowl with a damp paper towel for 20 seconds, checking frequently to avoid melting or clumping. Store sugar in an airtight container to prevent future hardening.
4. Removing Stains from Plastic Containers
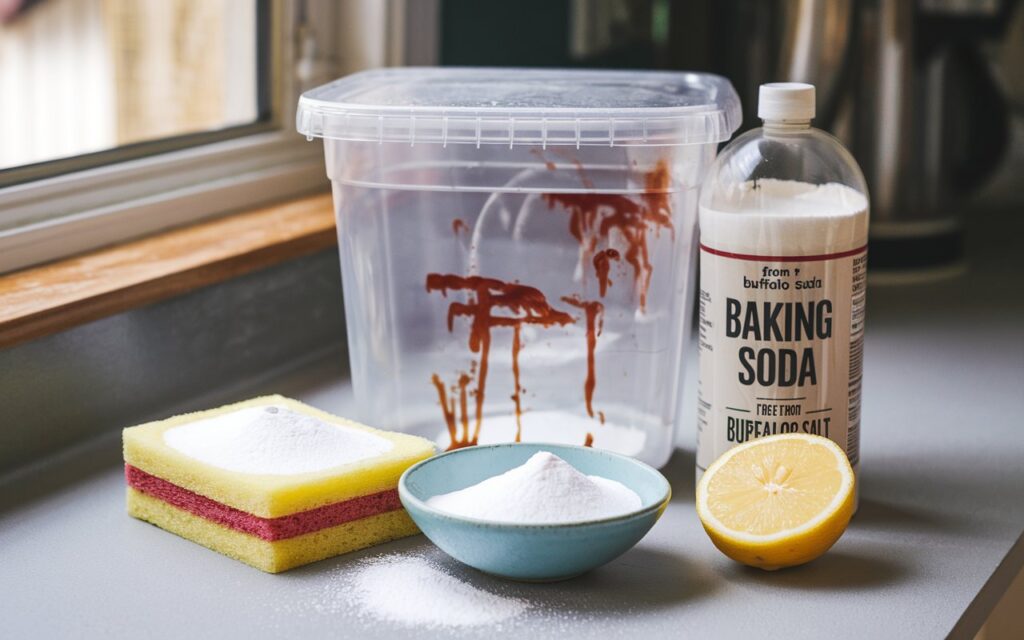
Plastic containers often retain food stains, especially from tomato-based sauces. To clean them, mix a paste of baking soda and water, ensuring a thick consistency for effective scrubbing. Gently scrub the stains with the paste using a sponge or cloth, then rinse thoroughly with warm water. For tougher stains, add a teaspoon of lemon juice to the mixture to boost the cleaning power and break down stubborn marks. Dry the containers completely before storing to prevent further discoloration and maintain freshness.
5. Preventing Avocado Browning
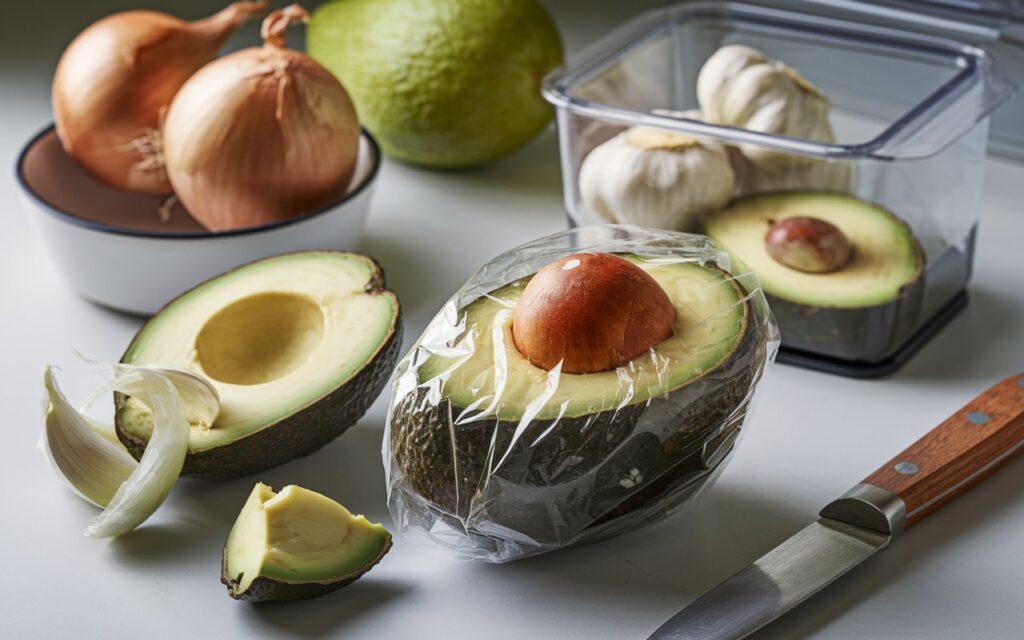
Avocado halves tend to brown quickly after being cut. To keep them fresh, brush the exposed surface with lemon or lime juice and wrap tightly with plastic wrap to reduce air exposure. Another effective method is to store the avocado with the pit intact and place it in an airtight container along with a piece of onion. The natural sulfur compounds in the onion help slow down oxidation, preserving the vibrant green color and flavor. Ensure the container is sealed properly to maintain freshness.
6. Stopping Boiling Water from Overflowing
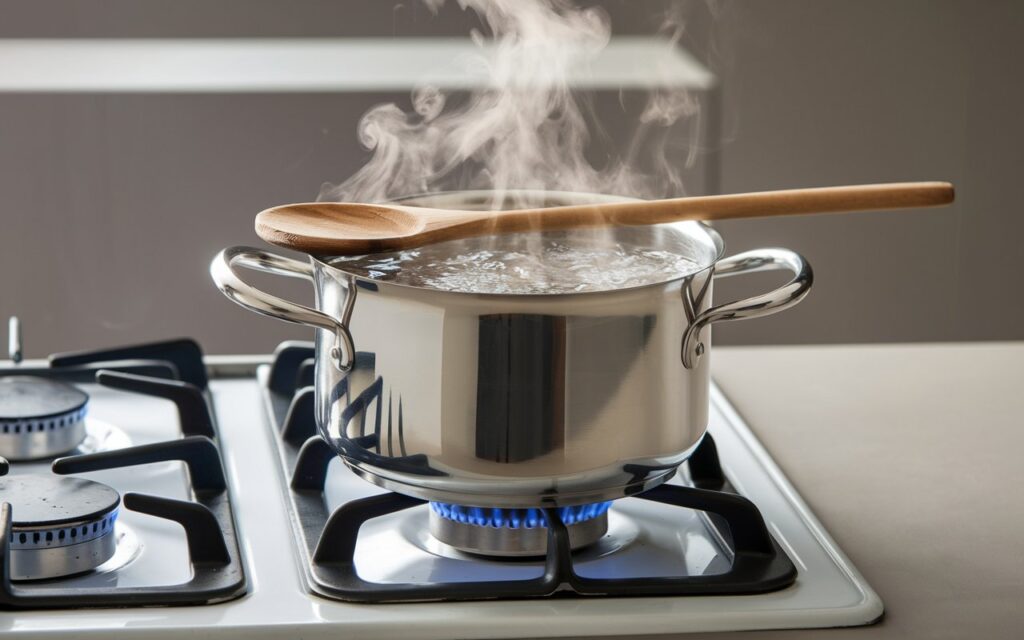
Boiling water can quickly foam over, creating a mess on your stovetop. To prevent this, place a wooden spoon across the top of the pot; the spoon disrupts the bubbles, stopping them from spilling over. For added effectiveness, keep the pot only two-thirds full to leave room for the boiling water to expand. Additionally, reduce the heat slightly once the water reaches a rolling boil to maintain control and avoid overflows. This simple trick ensures a cleaner and safer cooking experience.
7. Reviving Stale Bread
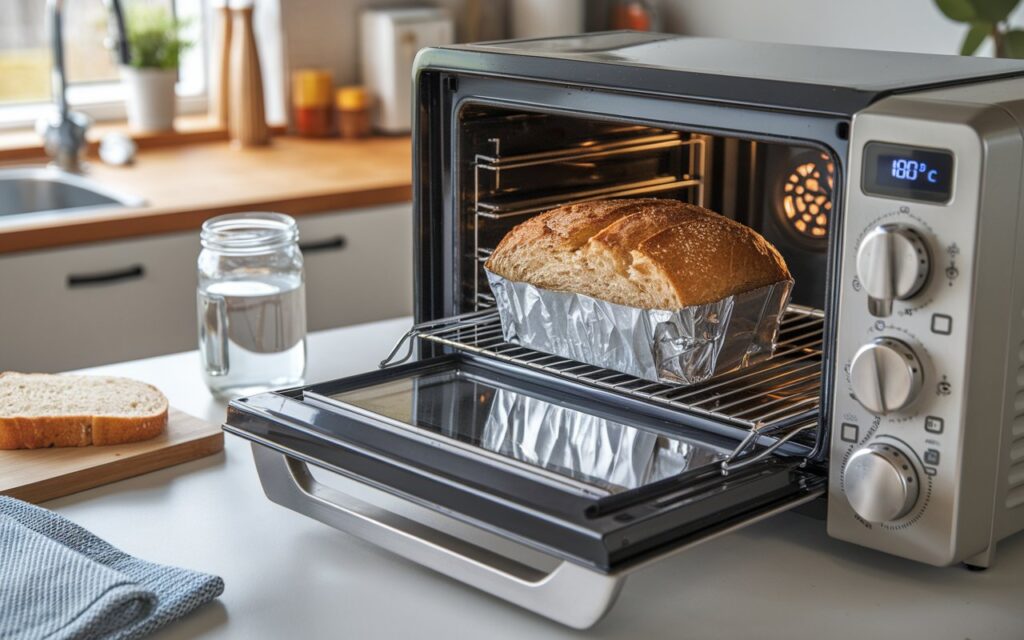
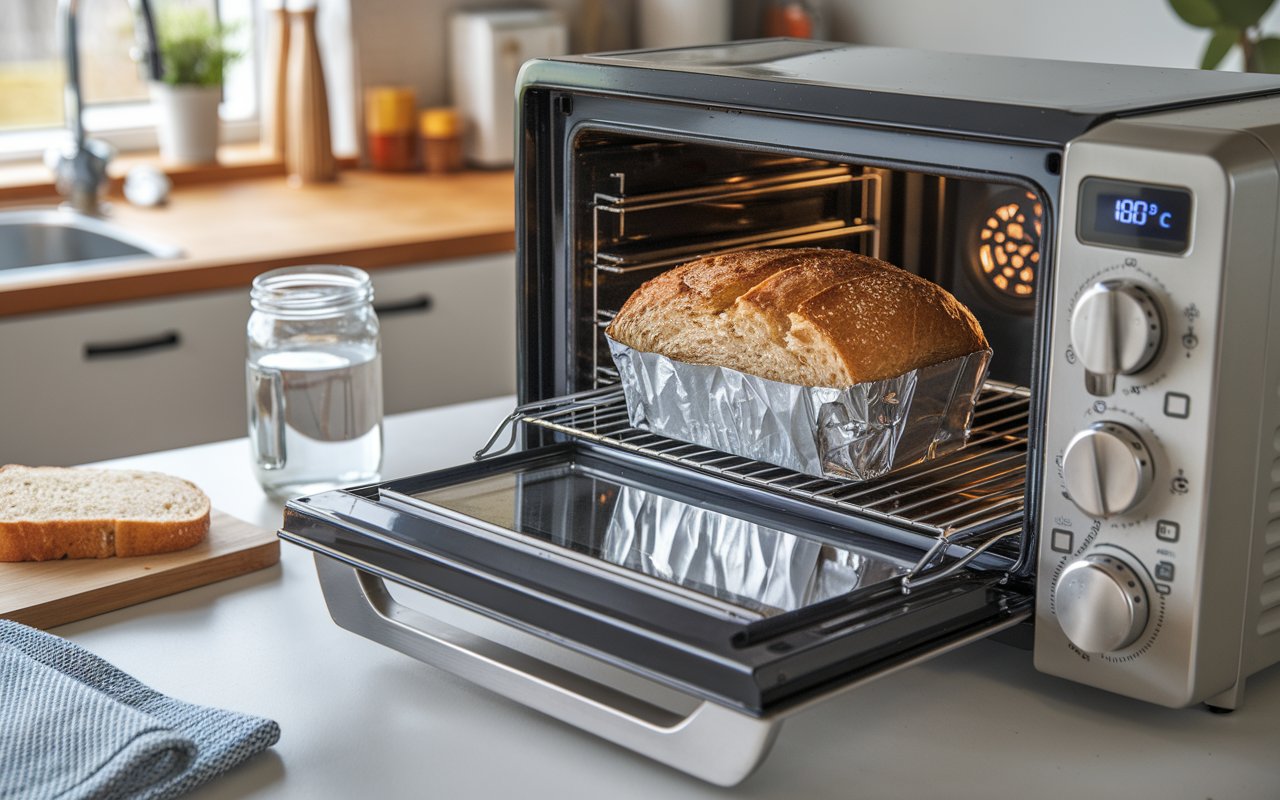
Stale bread doesn’t have to go to waste. Sprinkle the loaf with a bit of water and wrap it tightly in aluminum foil. Bake it in the oven at 180°C (350°F) for 10 minutes to allow the moisture to rehydrate the bread, restoring its softness and freshness. For a quick fix with sliced bread, wrap the slices in a damp paper towel and microwave for 10 seconds, checking for desired softness. Always store bread properly to prevent it from going stale too quickly.
8. Dealing with Burnt Pans
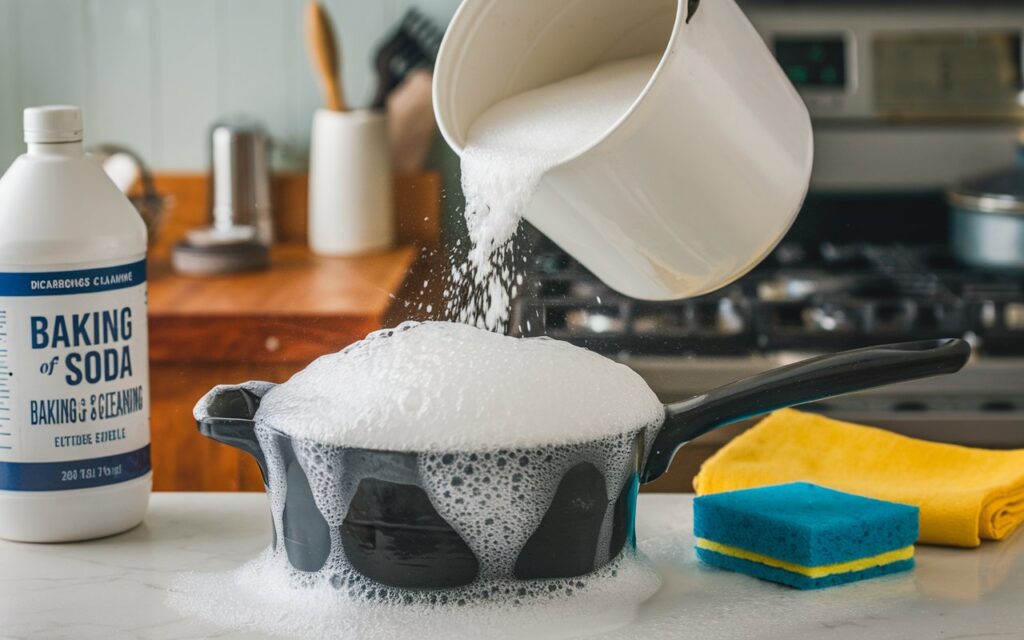
Burnt pans can feel impossible to clean, but a simple method can make them shine again. Sprinkle baking soda generously over the burnt area and pour enough vinegar to cover it, letting the mixture fizz and break down the residue. Allow it to sit for 10 minutes before scrubbing with a sponge or brush to lift the grime. For stubborn spots, boil water in the pan with a tablespoon of baking soda, which helps loosen any remaining burnt bits. Finish by rinsing thoroughly and drying to restore the pan’s original luster.
9. Preventing Cutting Board Slips
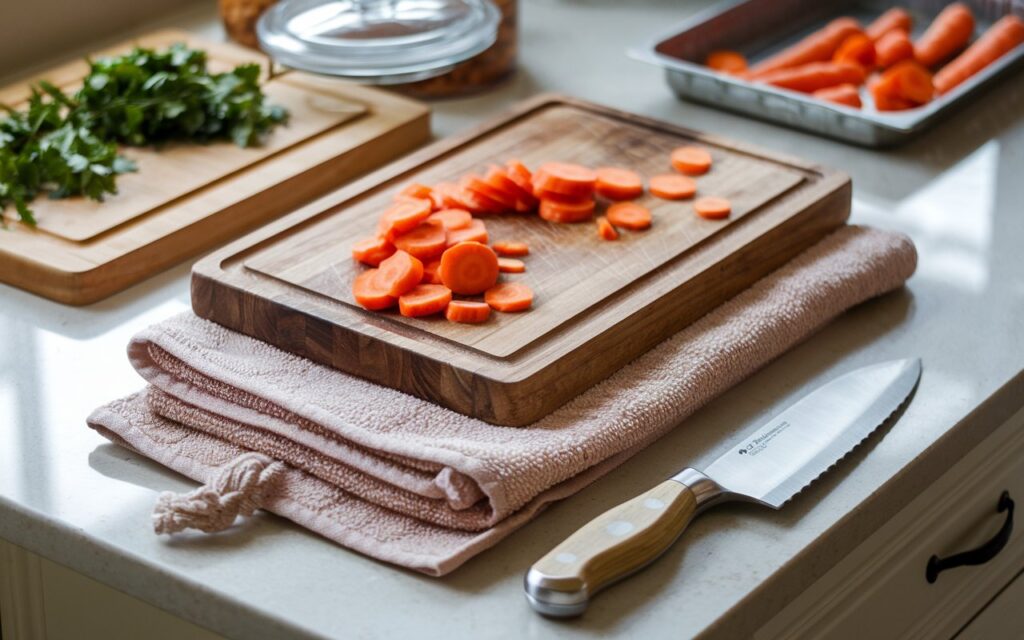
A slipping cutting board can be dangerous while chopping, but it’s easy to secure. Place a damp kitchen towel or a non-slip mat underneath the cutting board before starting. This simple trick keeps the board stable, reducing the risk of accidents. For extra stability, ensure the countertop and the towel are clean and free from grease. If you frequently face this issue, consider investing in a cutting board with rubber grips or edges.
10. Removing Sticky Residue from Jars
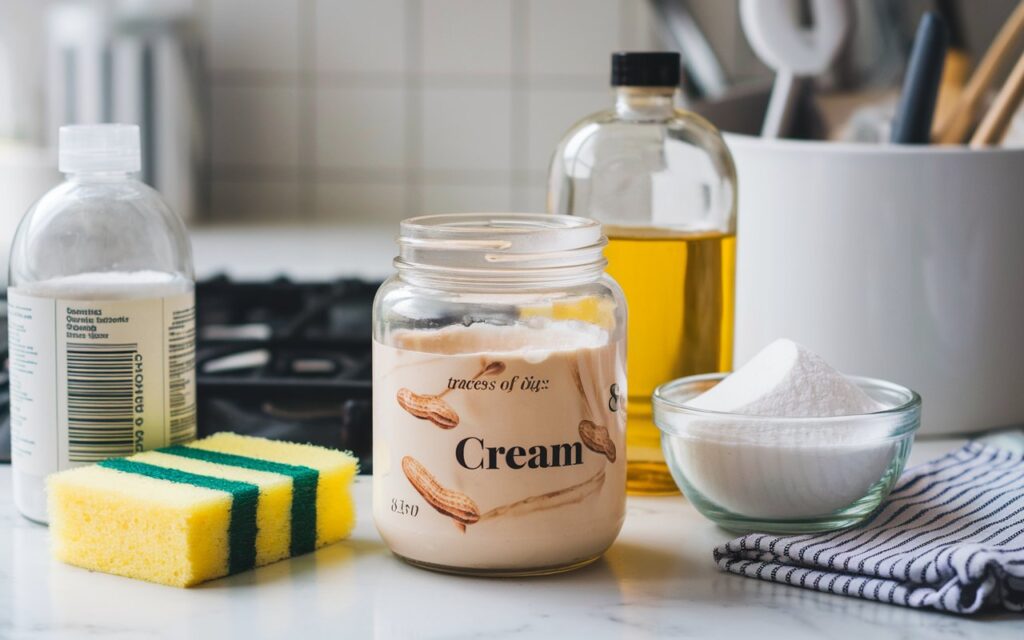
Sticky residue from jar labels can be frustrating to clean, but a quick solution makes it manageable. Apply a small amount of cooking oil or peanut butter to the sticky area and let it sit for a few minutes to loosen the adhesive. Use a cloth or sponge to rub the residue off gently, working in small circles. For tougher spots, sprinkle baking soda over the oil to add abrasiveness and scrub thoroughly. Rinse with warm, soapy water to leave the jar clean and ready for reuse.
11. Preventing Sticky Measuring Cups

Sticky ingredients like honey or syrup can be challenging to measure. To prevent sticking, lightly coat the measuring cup or spoon with a thin layer of oil or water before adding the ingredient. This simple step ensures the sticky substance slides out effortlessly, reducing cleanup and waste. For even distribution, tilt the cup or spoon to coat it entirely before measuring. This method is especially helpful for precise recipes where every drop counts.
12. Cutting Onions Without Tears
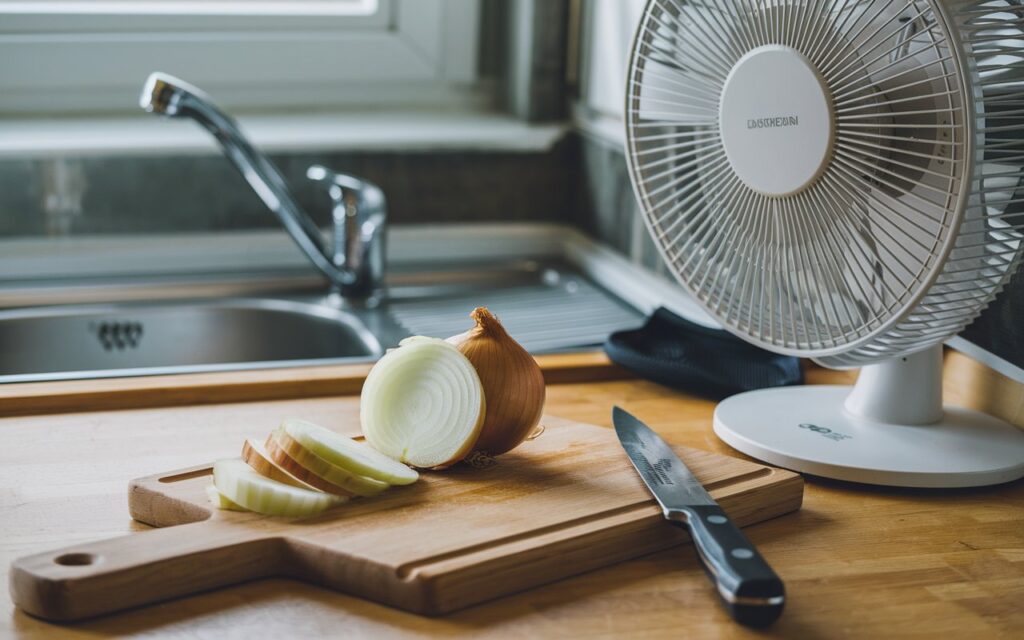
Onions can bring tears to your eyes, but there’s an easy way to reduce the sting. Chill the onion in the freezer for 10 minutes before cutting it; the cold slows down the release of sulfur compounds that cause irritation. Alternatively, use a sharp knife to minimize cell damage and ensure clean cuts. Cutting near a running fan or an open window can help blow the fumes away, keeping your eyes comfortable. These simple steps make prepping onions less of a hassle and more efficient.
