22 Baking Steps To Master The Art Of Homemade Bread
Mastering homemade bread is a rewarding kitchen skill that blends precision, patience, and practice. Here are 22 essential baking steps to help you build confidence and consistently turn out beautiful, flavorful loaves—from rustic sourdough to soft sandwich bread.
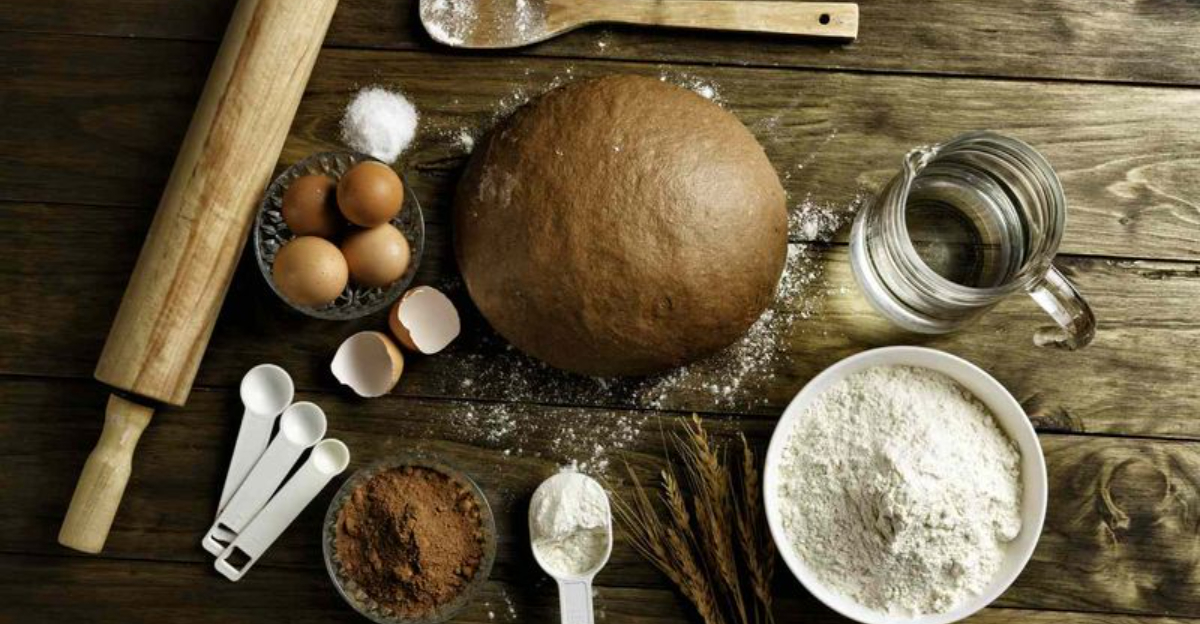
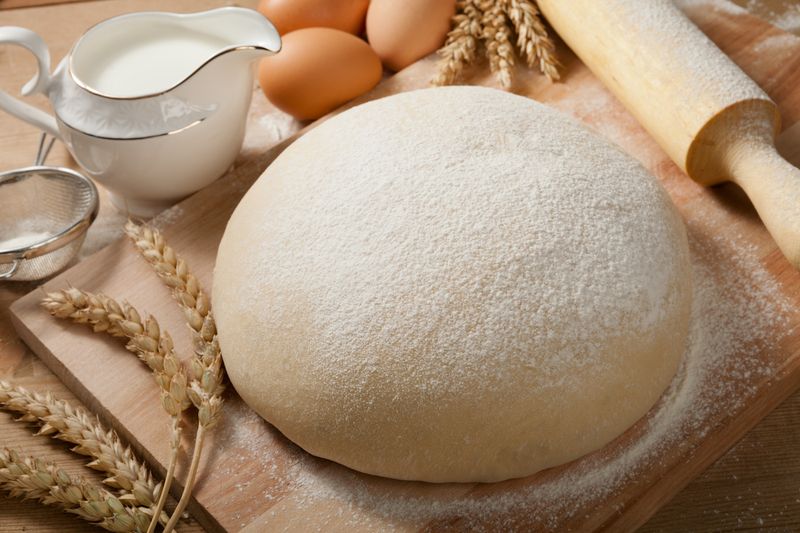
1. Understand Your Ingredients

Discovering the crucial ingredients for baking bread is your first step towards success. Flour, water, yeast, and salt form the foundation. Each ingredient plays a pivotal role in texture and flavor. All-purpose flour suits most recipes, while bread flour enhances gluten development for a chewier loaf. Salt not only flavors but controls yeast activity. Enrichments like butter or milk can add tenderness. Understanding these components leads to improved baking results. Bread’s essence lies in its simplicity, yet the potential for creativity is boundless. Explore ingredient variations to craft a loaf that speaks to your personal taste.
2. Use a Kitchen Scale
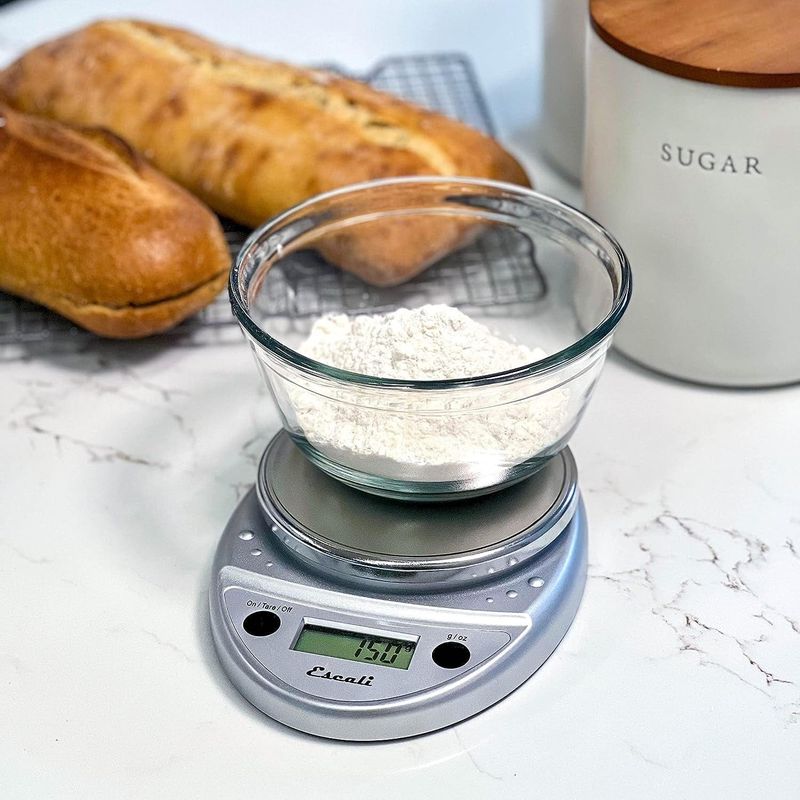
Weighing ingredients ensures consistency in your bread-making endeavors. Unlike cups, grams or ounces provide precise measurements, minimizing variability. This precision is crucial because bread baking is a science, where slight deviations can affect outcomes. Invest in a quality kitchen scale to achieve uniform results. It’s an indispensable tool for both novice and seasoned bakers. With practice, weighing becomes second nature, streamlining your baking process. The accuracy it brings will reflect in your loaves, offering consistent texture and flavor. Your bread journey deserves this simple yet transformative tool.
3. Choose the Right Flour
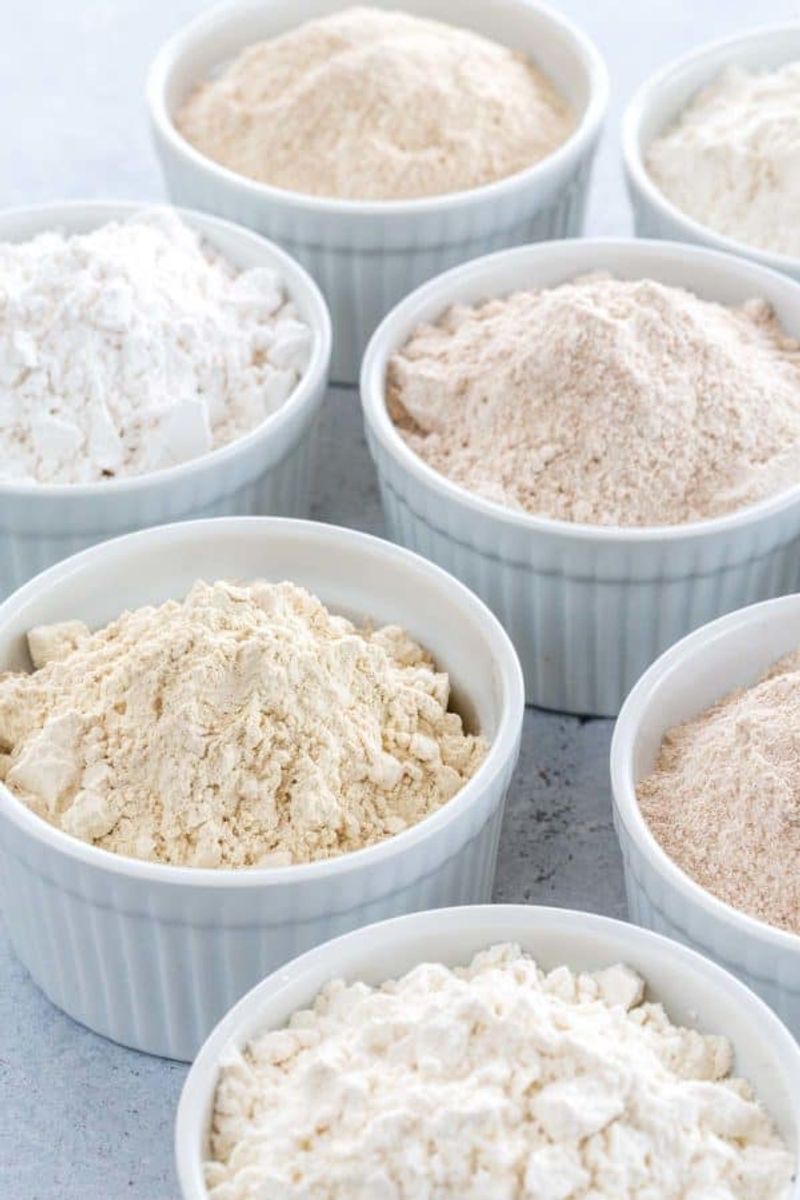
Selecting the correct flour type is fundamental to achieving the desired bread outcome. Bread flour, with its higher protein content, fosters stronger gluten networks, resulting in a chewier texture. All-purpose flour is versatile, accommodating a range of bread styles. Whole wheat flour introduces a nutty flavor and denser crumb. Matching flour to your bread type influences the final product. Experimenting with different flours can offer surprising results and deepen your understanding of bread characteristics. The journey through flour types expands the creative possibilities, allowing you to tailor bread to your liking.
4. Proof Your Yeast
Activating yeast is a crucial step in bread baking, especially with active dry yeast. Dissolve it in warm water, around 100–110°F, and add a pinch of sugar. This simple process awakens the yeast, ensuring it’s alive and ready to leaven your dough. Observing the bubbles reassures you of its potency. This proofing step offers confidence in achieving a successful rise. The magic of yeast is its ability to transform simple ingredients into a light, airy loaf. Mastering yeast proofs enhances your baking skills, paving the way for more complex recipes and reliable results.
5. Don’t Rush the Mix
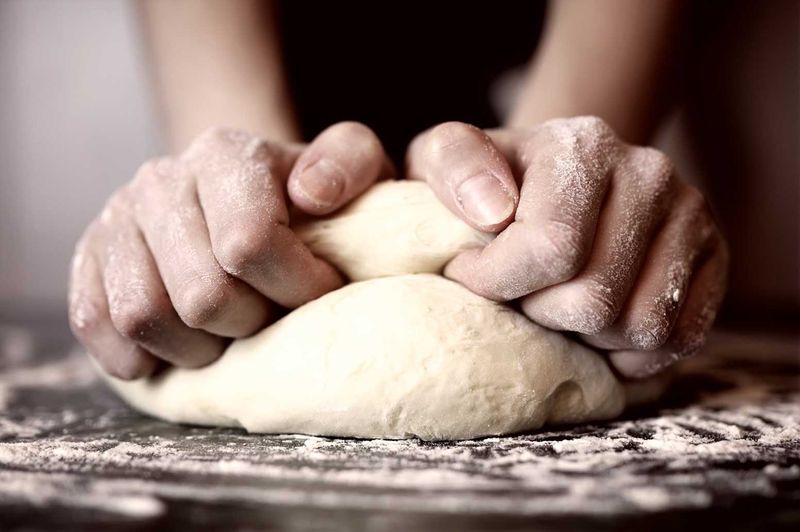
Kneading is where dough takes shape, literally. Whether by hand or mixer, achieve a smooth, elastic consistency. Rushing this step can lead to under-kneaded dough, resulting in poor rise and texture. Feel the dough transform; it should no longer stick. This tactile process connects you with the bread, a craft honed through practice. The effort invested here determines your loaf’s success. Enjoy the rhythm of kneading, understanding its vital role in gluten development. A well-kneaded dough promises a satisfying bake, setting the stage for flavorful, structurally sound bread.
6. Use the Windowpane Test
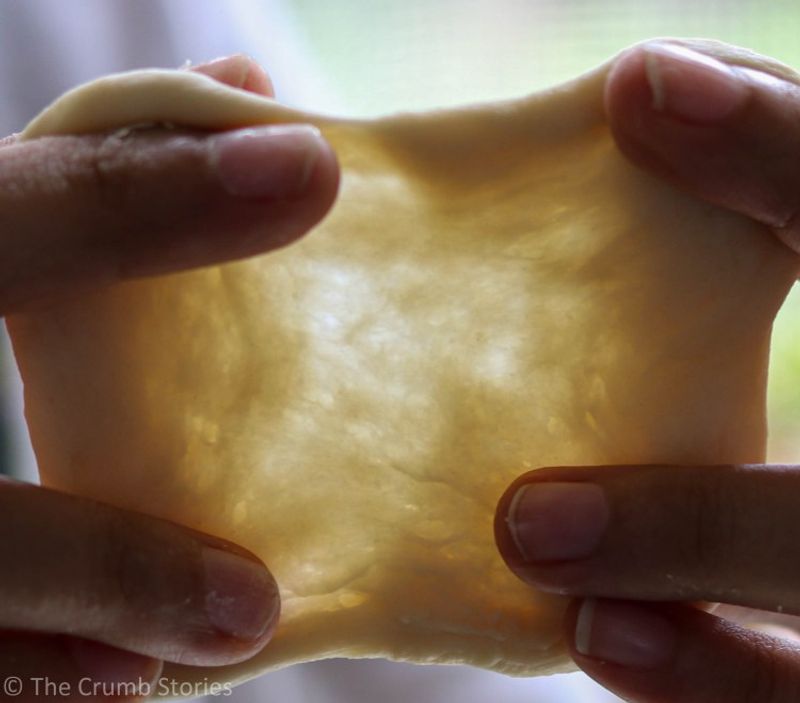
The windowpane test reveals the gluten development in your dough. Gently stretching a small dough piece helps determine its elasticity. Achieving a thin, translucent film without tearing signifies proper gluten formation. This simple test informs you of the dough’s readiness for the next stage. It’s a visual cue that connects you with bread-making science. Mastering this technique boosts baking confidence, offering insights into structural integrity. Understanding your dough through this test enhances your ability to produce consistent, high-quality breads. It’s a skill that sets the foundation for successful baking endeavors.
7. Autolyse When Needed
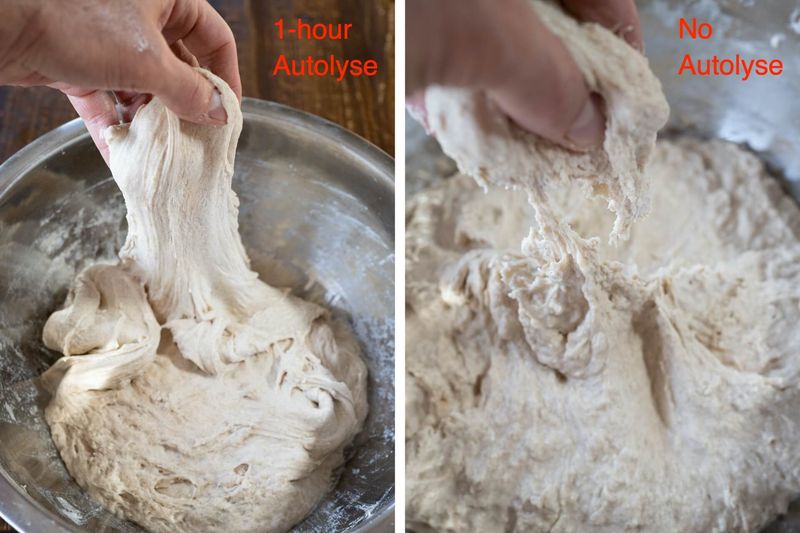
Autolysis involves resting flour and water before kneading, promoting gluten development naturally. This step is particularly beneficial in artisan bread recipes, enhancing texture and flavor. The process allows flour to hydrate, activating enzymes that break down proteins and starches. This chemical reaction simplifies the dough’s structure, making it more extensible. Embracing autolyse can elevate your bread quality, offering subtle improvements in crumb and crust. It’s a step that introduces a level of sophistication to your baking practice, encouraging exploration and experimentation in the pursuit of perfect homemade bread.
8. Embrace the First Rise (Bulk Fermentation)
Bulk fermentation is where dough doubles in size, developing flavor and structure. It’s a patient process, allowing yeast to work its magic. Cover the dough and let it rest in a warm place. This phase is essential for building complexity in taste. Observing the rise connects you with the ancient art of bread making. It’s a time of anticipation, as your dough transforms from a simple mixture to a fragrant, airy mass. Embracing this rise is an exercise in patience, rewarding you with a loaf that reflects tradition and skill.
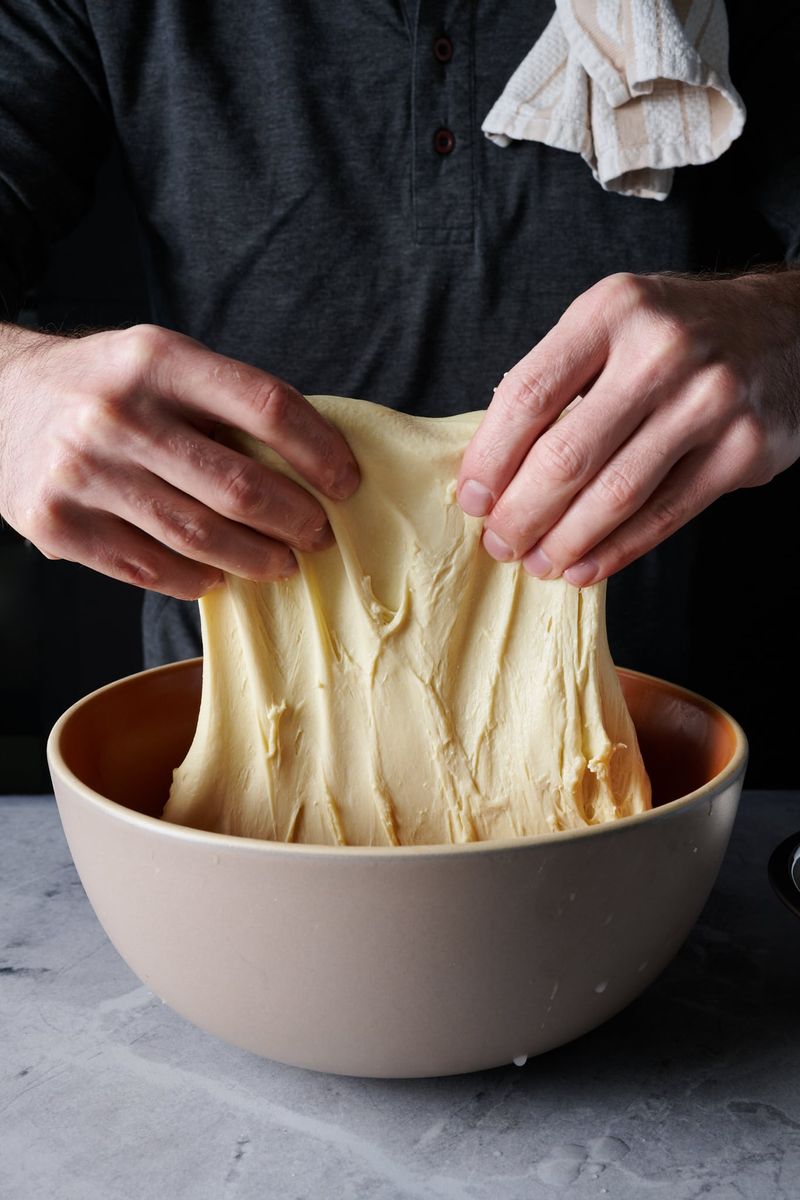
9. Try Stretch and Folds
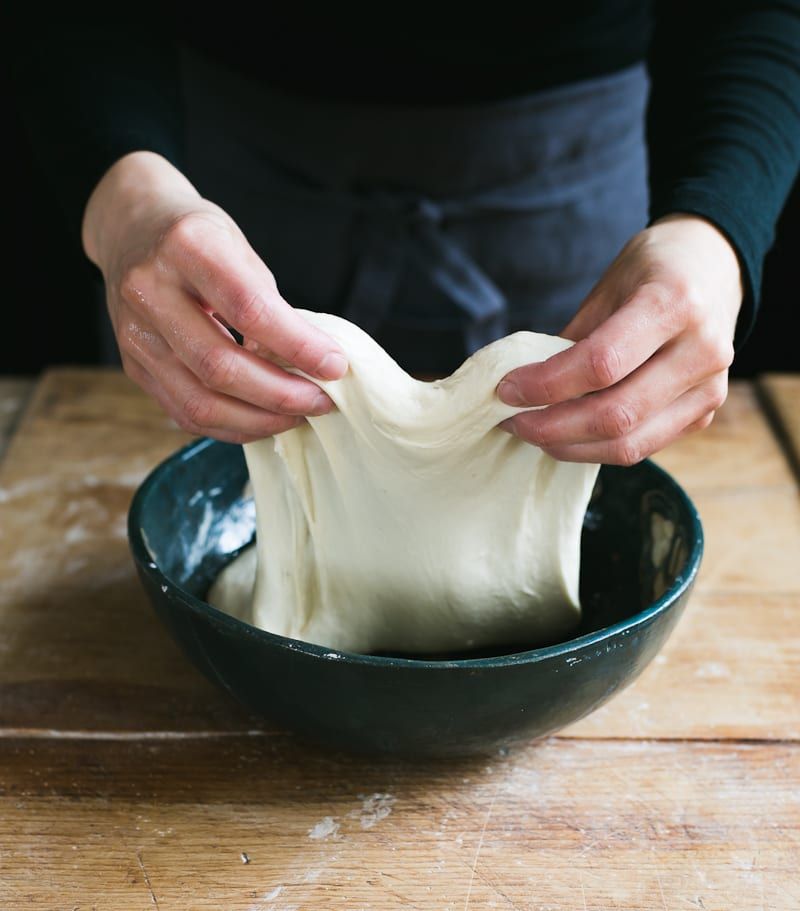
The stretch and fold technique strengthens gluten without traditional kneading. Gently lift and fold the dough during the first rise. This method enhances elasticity and structure, supporting a lofty loaf. The technique is particularly useful for high-hydration doughs, common in artisan bread. It encourages a hands-on approach, connecting you with the dough’s development. Each fold builds strength, improving the final bake’s texture. This method adds a modern twist to traditional techniques, showcasing the evolution of bread-making methods. Embrace stretch and folds for a deeper understanding of dough dynamics and baking success.
10. Know When It’s Ready
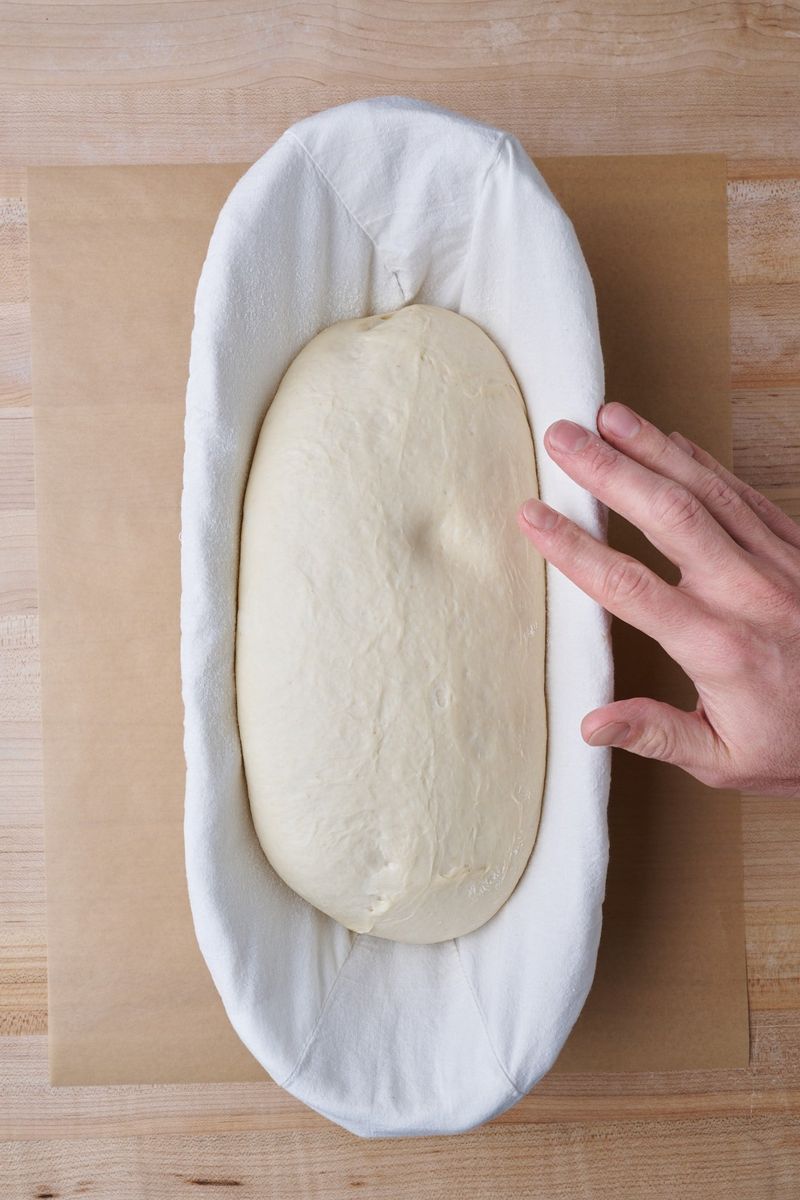
Understanding your dough’s readiness post-rise is key to successful baking. The dough should feel airy and puffed. Gently press it; a slight indentation signals it’s prepared for the next step. This tactile assessment connects you with the dough’s transformation. Recognizing readiness enhances your intuition, a skill honed through practice. Each loaf teaches you about timing and texture. This awareness ensures your bread reaches its full potential, offering a rewarding baking experience. Trusting your senses in bread making fosters growth, allowing you to craft loaves that consistently impress.
11. Degas Lightly
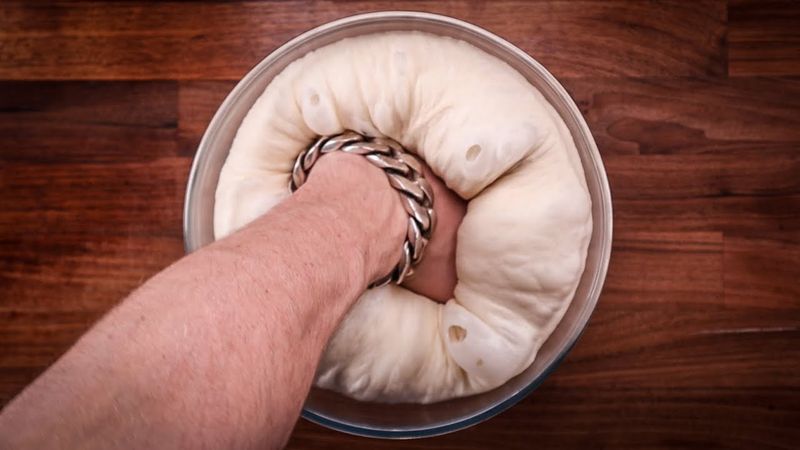
Degassing is a gentle act, preserving some air while releasing excess gas. This step prevents overly dense bread, maintaining lightness. Handle the dough with care, avoiding aggressive movements. The goal is to refine its texture, not deflate entirely. This process balances structure and volume, crucial for an appealing crumb. Each press is a chance to connect with your dough’s journey, understanding its balance of strength and delicacy. It’s a subtle art, where intuition guides your hands. Mastering degassing enhances your bread, offering a glimpse into the nuanced world of baking.
12. Shape with Purpose
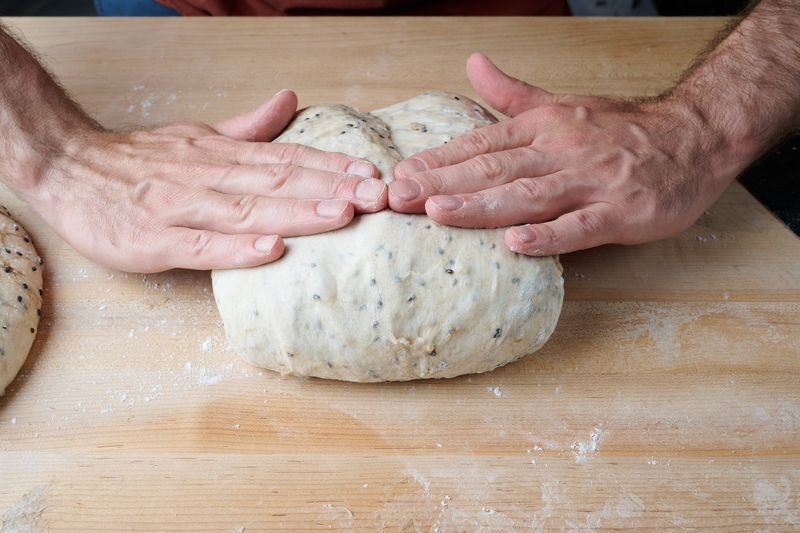
Shaping transforms dough into its final form, whether loaves, rolls, or boules. Use gentle, even pressure to preserve structure. This step defines your bread’s appearance and texture. Each shape you create is a testament to your skill and creativity. Understanding dough’s elasticity helps in achieving desired forms. It’s a moment of artistic expression, reflecting your personal touch. Mastering shaping techniques leads to uniform loaves with perfect crumb. This step invites you to explore different styles, adding variety and flair to your baking repertoire. Your bread’s shape becomes a signature of your craftsmanship.
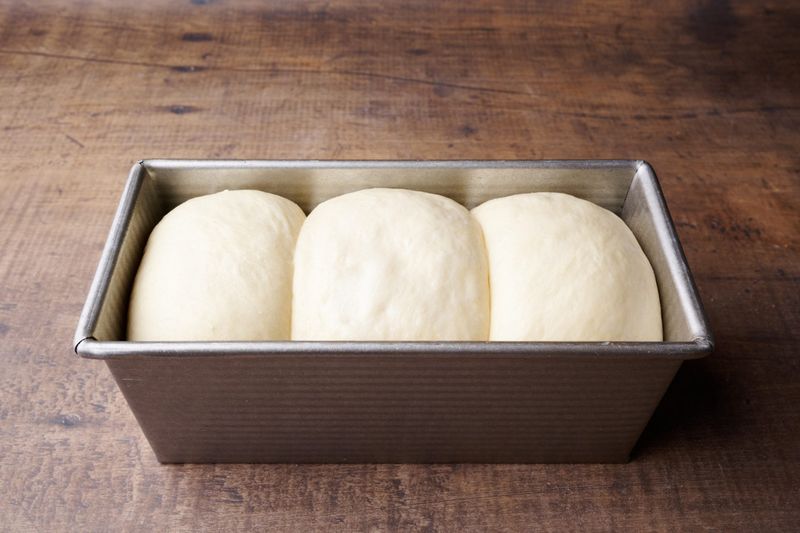
13. Give It a Final Rise (Proofing)
The final rise, or proofing, is crucial for bread’s texture. Allow the shaped dough to rise until slightly puffy. This step influences the crumb’s openness and the loaf’s height. Overproofing leads to collapse; underproofing results in dense bread. Watch the dough, understanding its signals. This stage connects you with baking’s dynamic nature. Proofing is an art of timing, where patience meets intuition. Each loaf offers lessons in observation and adjustment. Achieving the perfect proof ensures your bread is ready to shine, capturing the essence of home baking’s balance and beauty.
14. Score the Surface
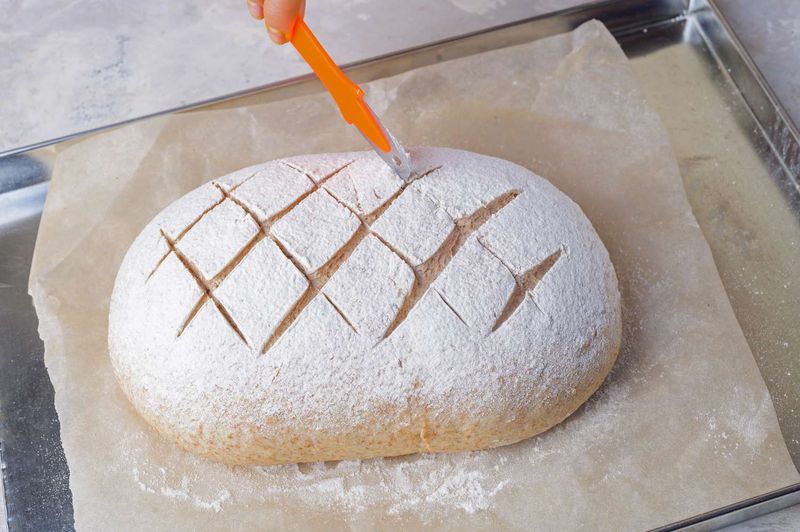
Scoring dough is both functional and decorative. Use a razor or sharp knife to slash the surface before baking. This step controls expansion, preventing unsightly cracks. Each cut is strategic, guiding the bread’s growth in the oven. Scoring enhances crust texture and gives a beautiful finish. It’s a moment where craft meets artistry. Each loaf becomes a canvas, reflecting your style and skill. Mastering scoring techniques adds sophistication to your bread, inviting admiration. This final touch connects you to baking’s rich tradition, where even the simplest loaf can express creativity.
15. Use Steam
Steam is a baker’s ally, promoting oven spring and glossy crusts. Add water to a hot pan or spray the oven’s interior before loading your bread. This moisture enables dough expansion, creating a light, airy crumb. It’s a step where science meets craft, enhancing bread’s appeal and texture. Steam’s role is subtle yet transformative, unlocking potential in each loaf. Embrace this technique for more professional results. Understanding steam’s impact elevates your baking, offering crispy crusts with a tender interior. It’s a simple addition that brings bakery-quality texture to homemade bread.
16. Preheat Your Oven Thoroughly
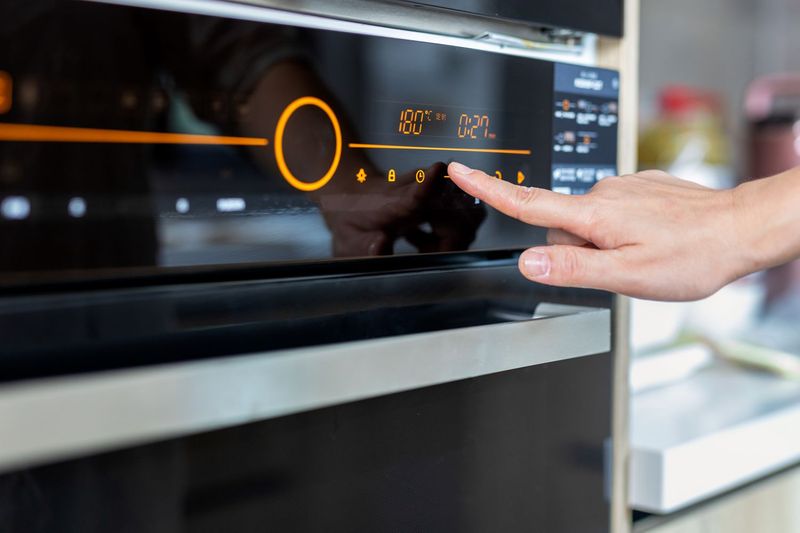
Proper oven preheating is essential for consistent results. Ensure your oven reaches the full baking temperature before placing the dough inside. This step guarantees even heat distribution, influencing crust and crumb development. An oven thermometer offers accuracy, helping avoid pitfalls from inaccurate settings. Thorough preheating provides a stable environment, crucial for bread’s initial oven spring. This stage is where preparation meets execution, setting the stage for success. Mastering oven readiness enhances your baking efficiency, offering predictable outcomes. The effort invested in preheating reflects in each loaf, rewarding your diligence.
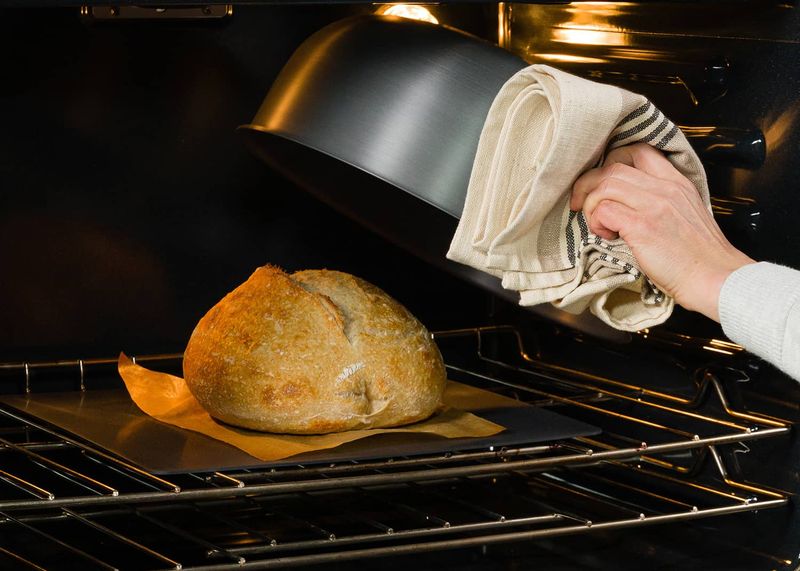
17. Bake Until Golden (and Hollow-Sounding)
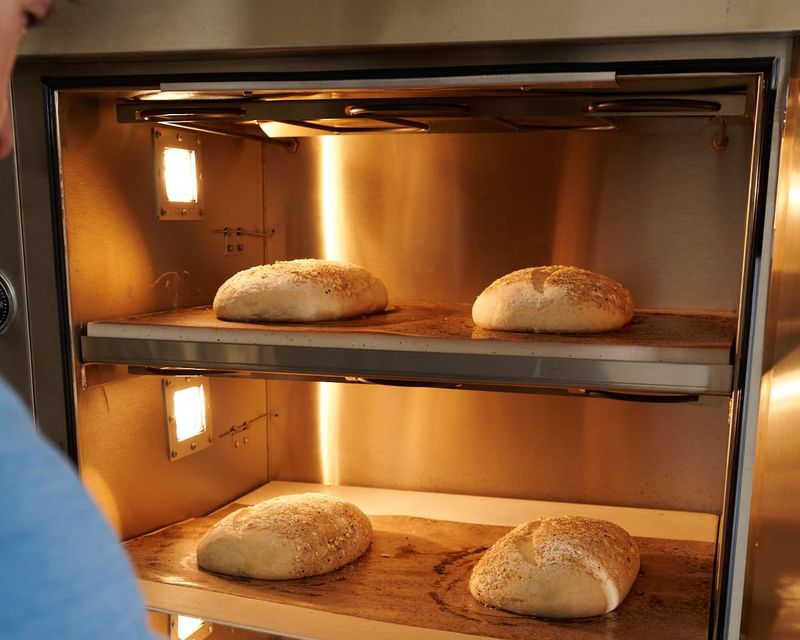
Baking to perfection involves color and sound. A golden-brown crust signals readiness, but tapping the loaf’s bottom reveals more. A hollow sound indicates thorough baking, confirming its doneness. Use a thermometer if needed; 190–210°F inside ensures safety and quality. Each bake offers a lesson in sensory connection, understanding bread’s subtle cues. This stage combines observation and intuition, honing your skills. Perfecting bake time enhances flavor and texture, offering a loaf that delights. It’s a moment of achievement, where the culmination of your efforts emerges in a beautiful, aromatic bread.
18. Cool on a Wire Rack
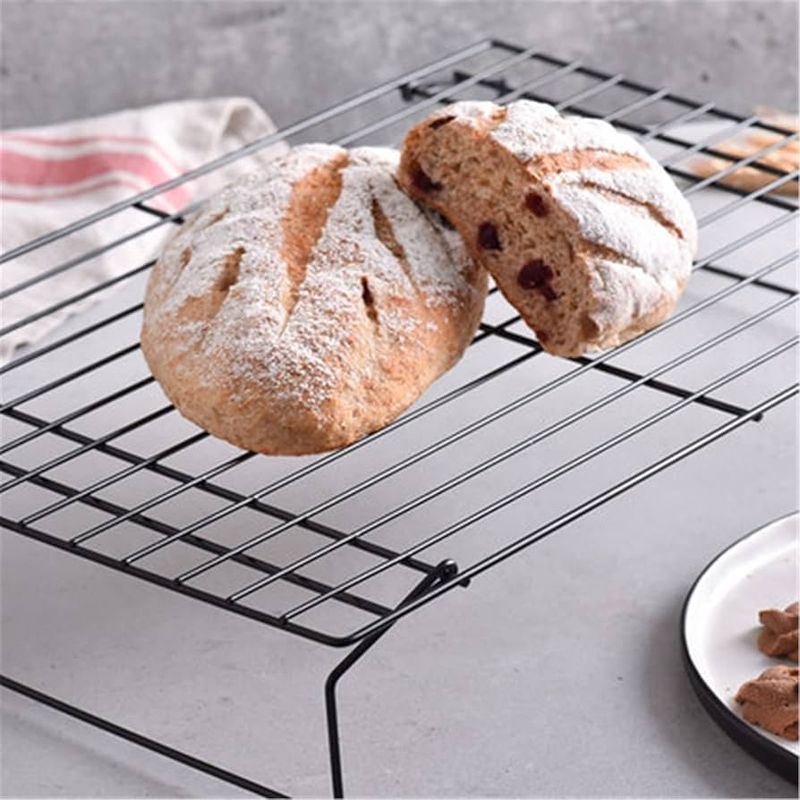
Cooling is crucial to set your bread’s crumb and crust. Place the loaf on a wire rack, allowing air to circulate. This process prevents gumminess and ensures flavor development. Patience is key; slicing too soon undermines texture. Cooling is a moment of anticipation, as aromas fill the air. Each loaf’s character fully emerges during this rest. It’s a testament to your discipline, embracing the final step in bread’s journey. Mastering cooling techniques enhances your baking, offering consistent quality. This stage teaches restraint, rewarding you with a loaf that embodies your efforts and care.
19. Store Properly
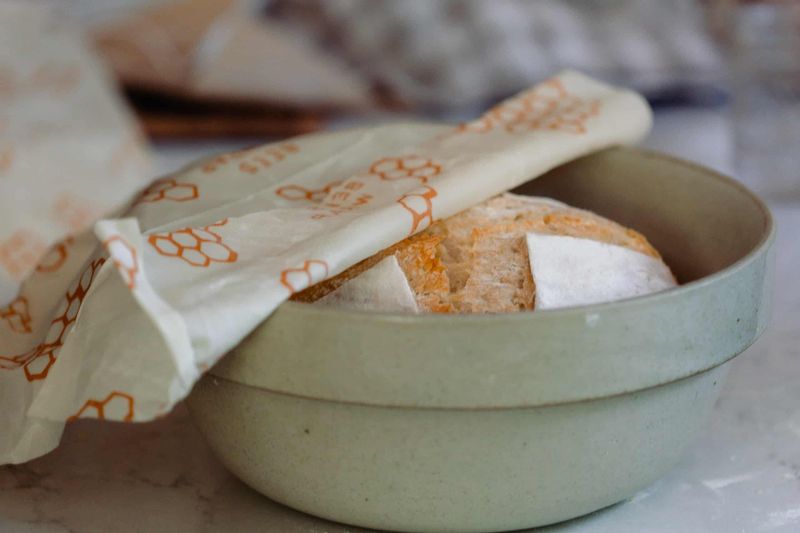
Proper storage maintains bread’s freshness. At room temperature, use a paper bag or bread box to keep the crust crisp. Avoid plastic, which traps moisture, leading to sogginess. Each method preserves your loaf’s integrity, extending its life. Understanding storage techniques reflects your respect for the craft, ensuring each slice’s enjoyment. This step is an exercise in preservation, recognizing bread’s ephemeral nature. Mastering storage enhances your appreciation of baking’s journey, offering lessons in care and attention. Each loaf becomes a testament to your commitment, reflecting the artistry of home baking.
20. Freeze for Freshness
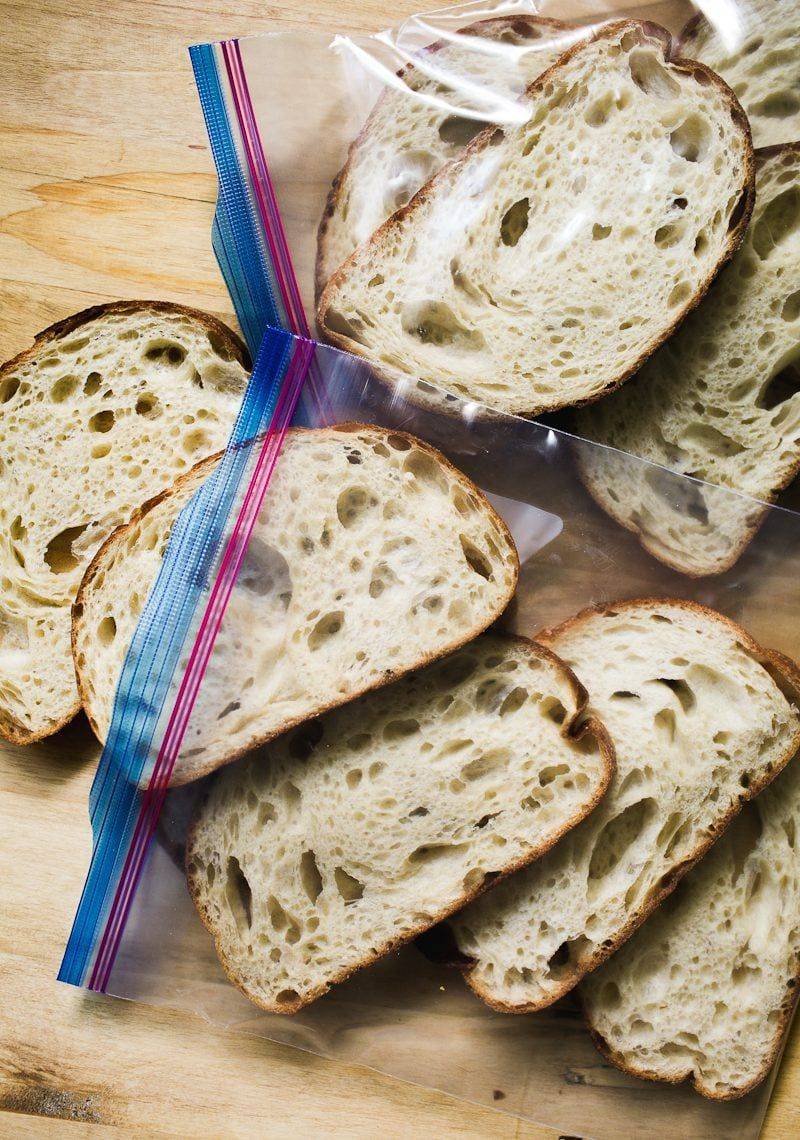
Freezing extends bread’s shelf life while retaining quality. Slice and freeze in airtight bags, preserving freshness for future use. This technique ensures you enjoy homemade bread anytime. Toasting from frozen offers convenience without sacrificing texture. Each frozen loaf reflects your foresight, understanding the balance between abundance and waste. Freezing invites you to embrace efficiency, making the most of your baking efforts. Mastering this method enriches your bread journey, offering flexibility and satisfaction. Your freezer becomes a treasure trove of homemade goodness, ready to delight at a moment’s notice.
21. Keep a Baking Journal

Documenting your baking journey offers valuable insights. A journal helps track ingredients, timing, and outcomes, becoming a personal guide in bread-making. Each entry reflects learning and growth, fostering improvement. This practice encourages reflection, turning each bake into a teaching moment. Your journal becomes a treasure chest of experiences, offering inspiration and wisdom. Embrace this habit as a tool for mastery, unlocking potential in every loaf. It’s a testament to your dedication, capturing the nuances of baking’s art. Your notes become a legacy, guiding future endeavors and celebrating your commitment to home baking.
22. Don’t Be Afraid to Fail
Embrace failure as a step towards mastery. Each imperfect loaf teaches valuable lessons. Bread baking is an evolving skill, where mistakes are opportunities for growth. Analyze what went wrong, adapting techniques and approaches. This mindset fosters resilience, turning challenges into achievements. Every bake becomes a chapter in your story, reflecting perseverance. Failure invites creativity, pushing boundaries as you refine your craft. Understanding this dynamic transforms your baking journey, offering satisfaction in progress. Celebrate each loaf, perfect or not, as a testament to your commitment and love for homemade bread.