15 Simple Tips to Cook Eggs with Better Results
Cooking eggs might seem simple, but achieving consistent results takes more skill than most people realize. Whether you’re scrambling for breakfast or boiling for lunch, small changes in technique can make a huge difference in taste and texture. These straightforward tips will help you improve egg cooking and avoid common mistakes that lead to rubbery whites or broken yolks.
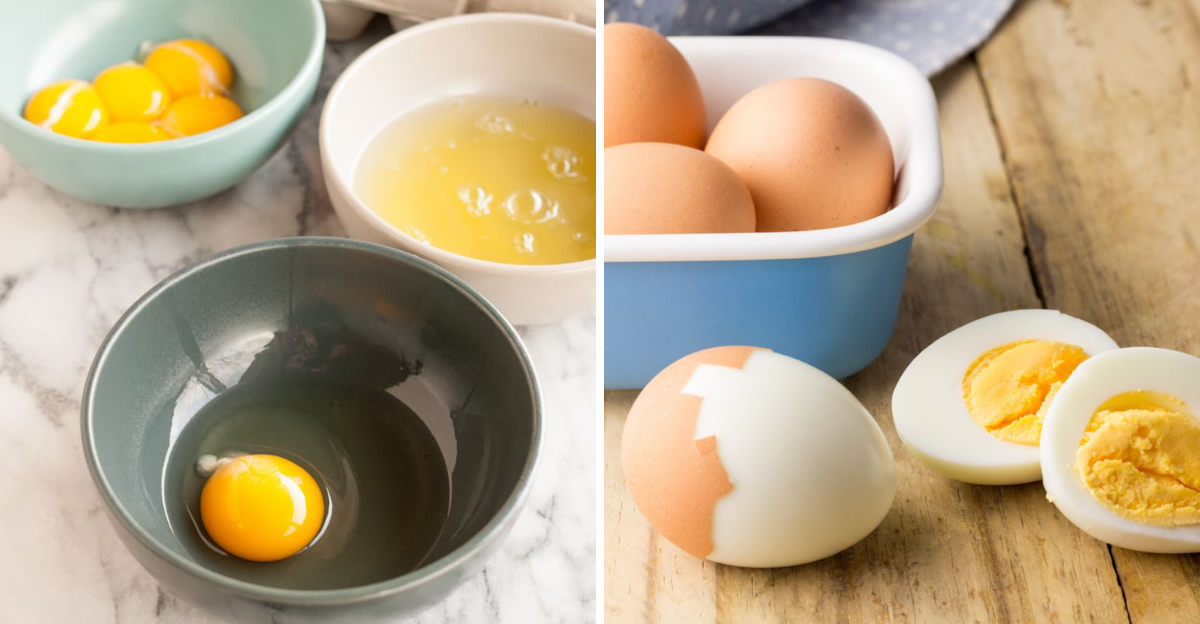
1. Check the Freshness
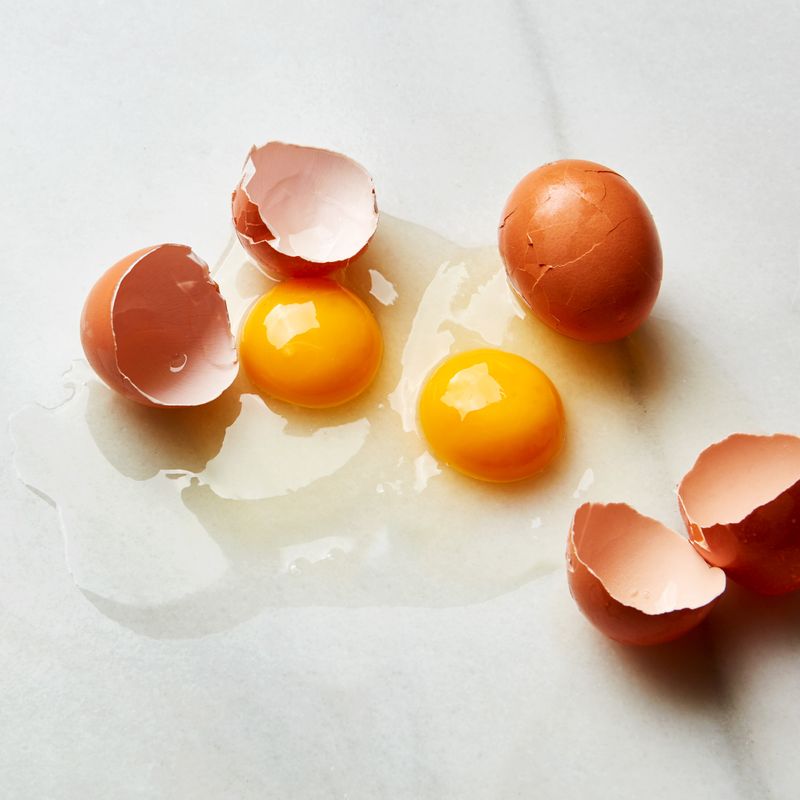
Fresh eggs make all the difference when cooking. The whites stay firm and the yolks remain bright orange instead of pale yellow. Testing freshness is easy with the water bowl method. Fill a bowl with cool water and gently place your egg inside. If it sinks flat on the bottom, you have a fresh egg. If it stands upright or floats completely, the egg is older and should be used soon or discarded for food safety.
2. Crack Eggs into a Separate Bowl
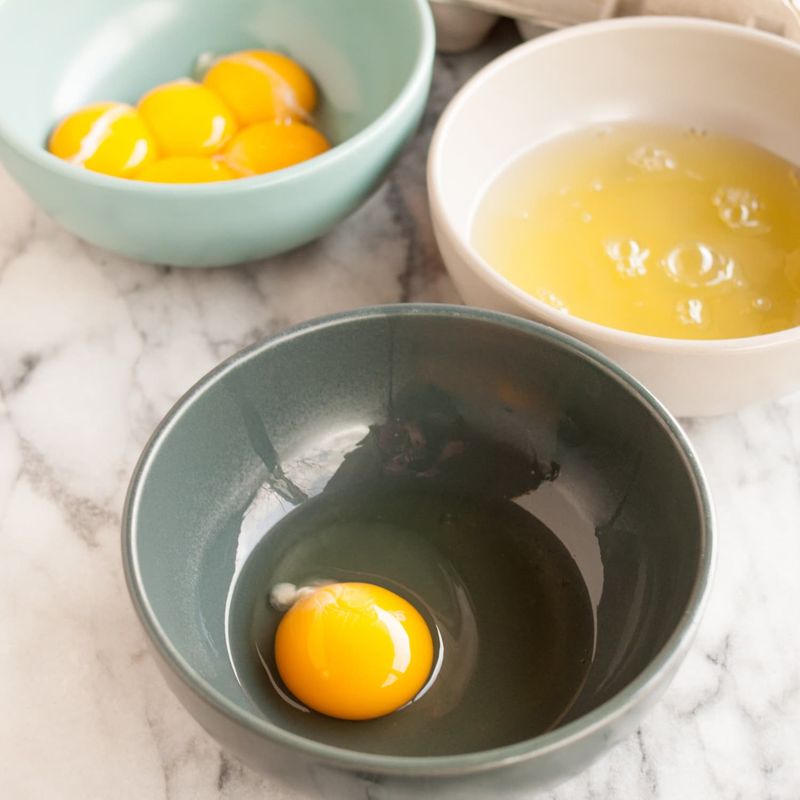
Professional chefs always crack eggs into a small bowl first before adding them to their main dish. This simple step prevents shell pieces from ruining your meal. You can easily spot and remove any shell fragments before they contaminate your food. This method also lets you check if the egg looks and smells right. Bad eggs are rare but can happen, so this extra step protects your entire dish from being wasted if one egg has gone off.
3. Use Room Temperature Eggs
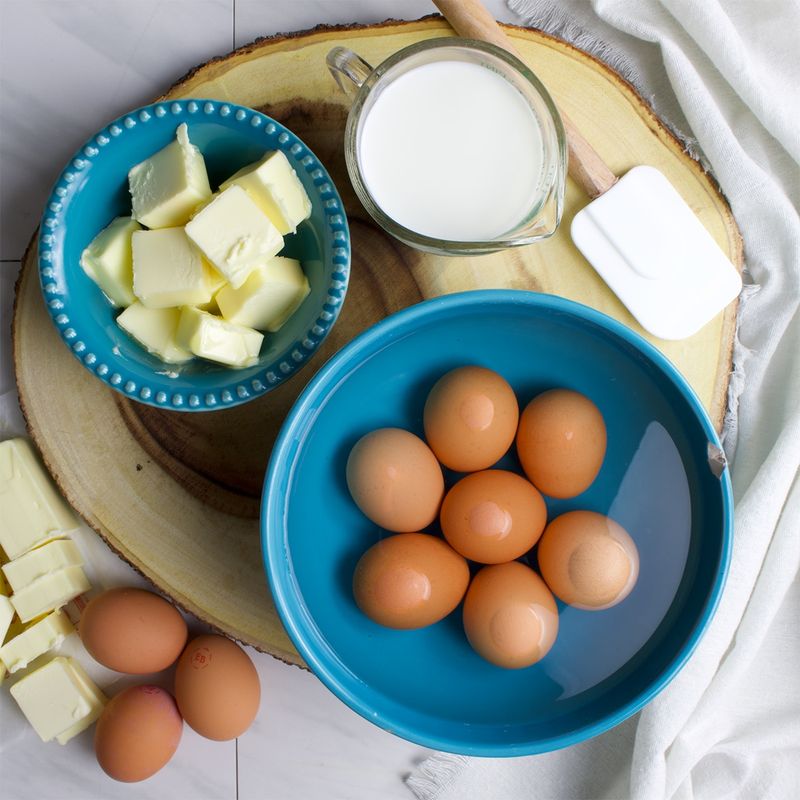
Cold eggs straight from the refrigerator cook unevenly and can crack when they hit hot surfaces. Room temperature eggs blend better and cook more consistently. Take your eggs out of the fridge about 30 minutes before cooking. If you forget, place them in warm water for 5-10 minutes to speed up the process. Room temperature eggs also whip up better for scrambled eggs and mix more easily with other ingredients like milk or cream in your recipes.
4. Choose the Right Pan
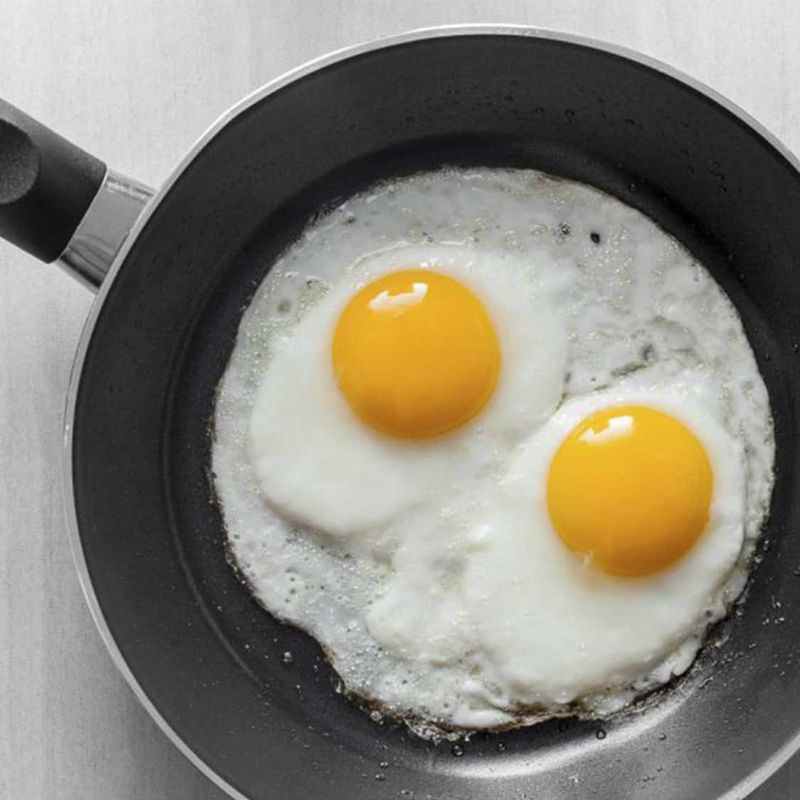
Non-stick pans work better for cooking eggs because they prevent sticking and make cleanup easier. The smooth surface lets you flip eggs without breaking the yolks. Cast iron pans can also work well if they’re properly seasoned, but they require more oil or butter. Stainless steel pans tend to stick unless you use plenty of fat. Make sure your pan is the right size for the number of eggs you’re cooking. Too big and the eggs spread too thin, too small and they crowd together.
5. Use the Right Utensils
A thin metal fish spatula works better than thick plastic spatulas for flipping eggs. The thin edge slides under eggs easily without breaking the delicate yolks. Silicone spatulas work well for scrambled eggs because they’re gentle and won’t scratch your non-stick pan. Wooden spoons are also good for stirring scrambled eggs continuously. Avoid using forks or knives to flip eggs as they can puncture the yolk or tear the whites. The right tool makes the job much easier and gives better results.
6. Cook Over Low Heat
Low heat is the key to tender, creamy eggs. High heat makes eggs tough and rubbery, especially the whites which become chewy and unpleasant. Scrambled eggs should cook slowly over low heat, taking about 5-7 minutes total. Fried eggs also benefit from gentle heat to avoid browning the bottoms. Be patient and resist turning up the heat to cook faster. The extra time spent cooking slowly results in much better texture and flavor in your finished eggs.
7. Add Fat for Flavor
Butter or oil prevents eggs from sticking and adds rich flavor to your dish. Butter works especially well because it browns slightly and gives a nutty taste. Use about one teaspoon of fat per two eggs. Let the butter melt completely before adding eggs, but don’t let it burn or smoke. Olive oil works well too, especially for fried eggs. The fat also helps heat distribute evenly across the pan, cooking your eggs more uniformly from edge to center.
8. Whisk Before Cooking
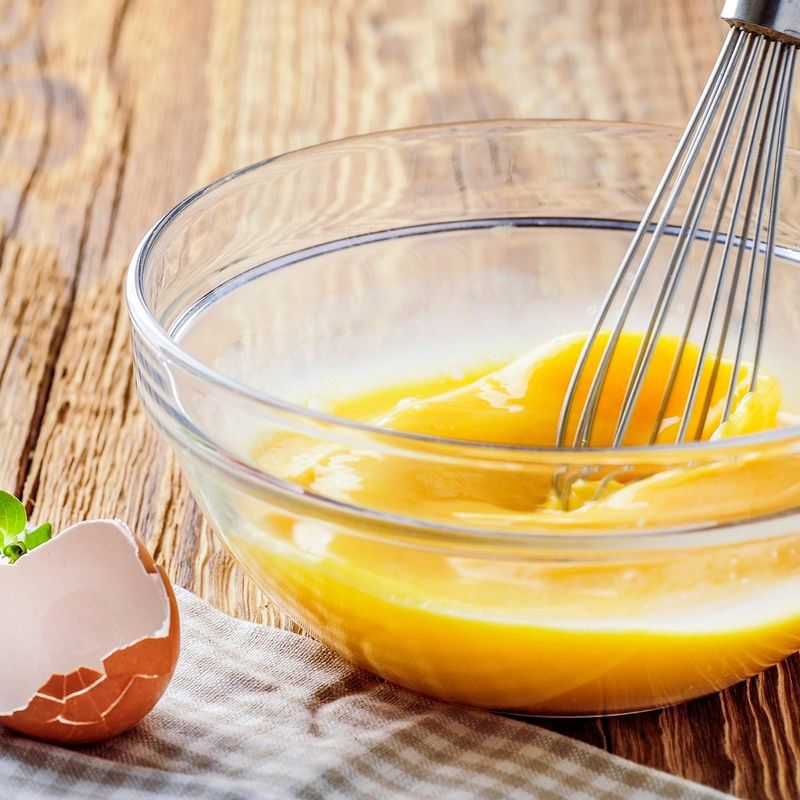
Whisking eggs before cooking breaks down the proteins and creates a smoother texture. Use a fork rather than a balloon whisk to avoid incorporating too much air. For scrambled eggs, whisk until the yolks and whites are completely combined with no streaks visible. This takes about 30 seconds of steady whisking. The whisking action helps the eggs cook more evenly and prevents you from having bits of pure white or pure yolk in your finished dish.
9. Season at the Right Time
Adding salt to scrambled eggs before cooking actually makes them more tender. The salt breaks down proteins gently. Season your beaten eggs about 15 minutes before cooking for best results. This gives the salt time to work on the proteins. For fried eggs, add salt and pepper after cooking to avoid drawing moisture out of the eggs. Fresh herbs can be added during cooking for more flavor.
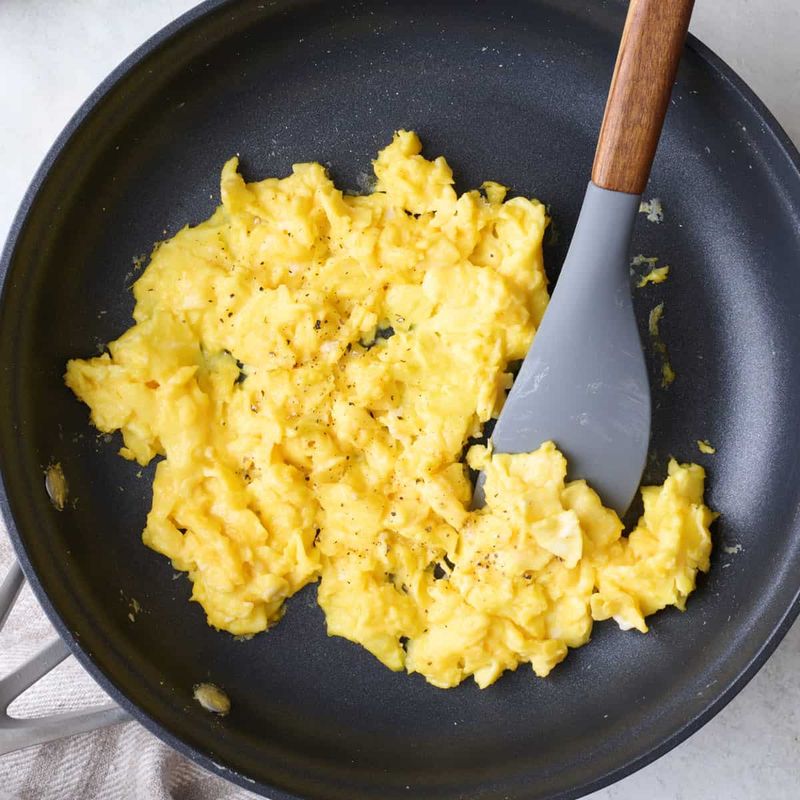
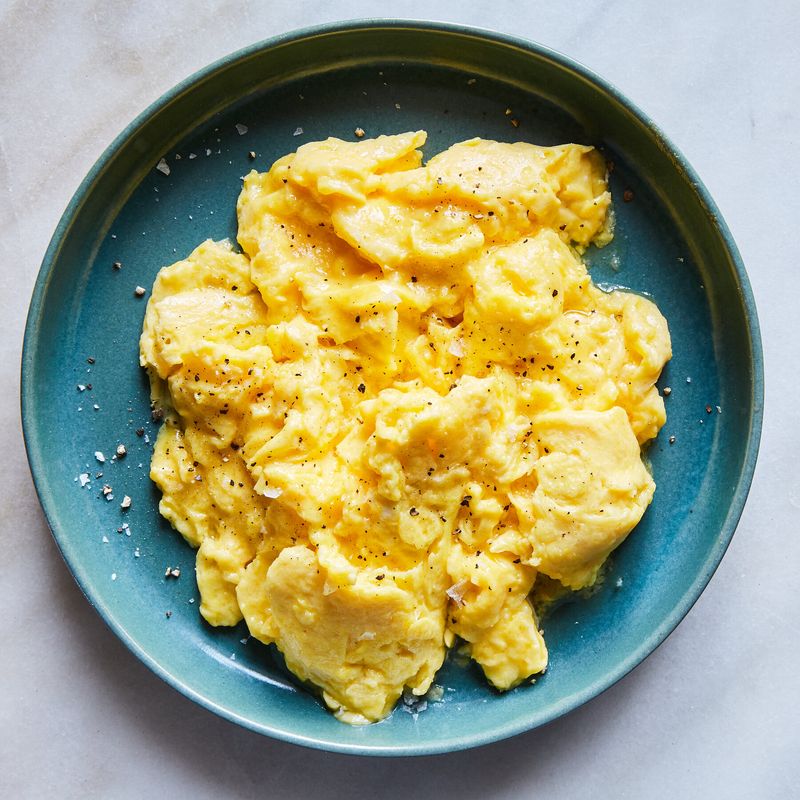
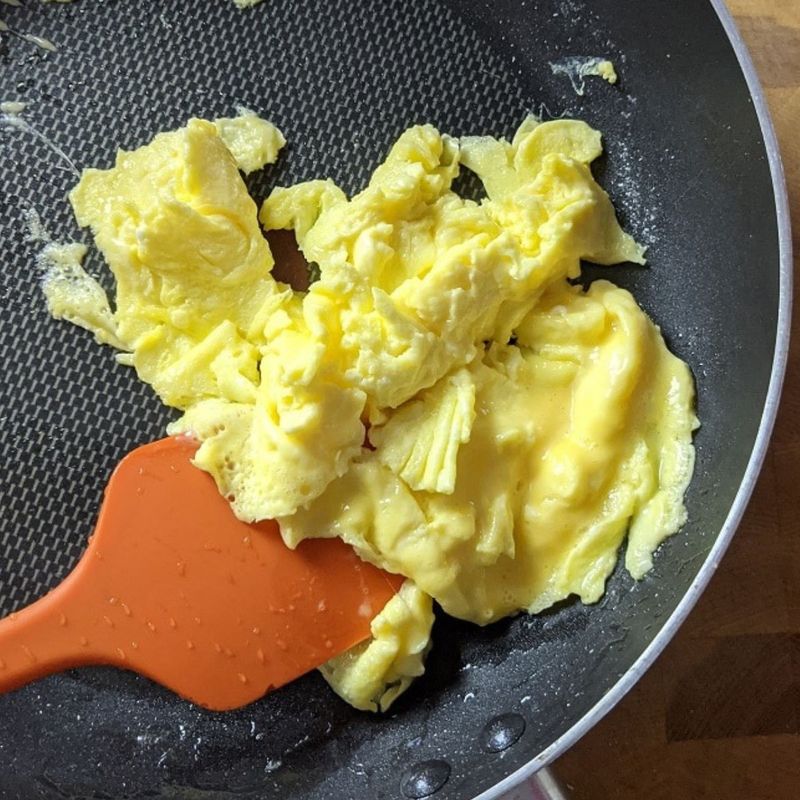
10. Stir Continuously for Scrambled Eggs
Constant stirring breaks down the egg curds as they form, making creamy, smooth scrambled eggs. Stop stirring and you’ll get large, chunky curds instead. Use a wooden spoon or silicone spatula to stir gently but continuously. Scrape the bottom and sides of the pan to prevent sticking. The stirring motion should be steady but not aggressive. You want to keep the eggs moving without beating them to death in the pan.
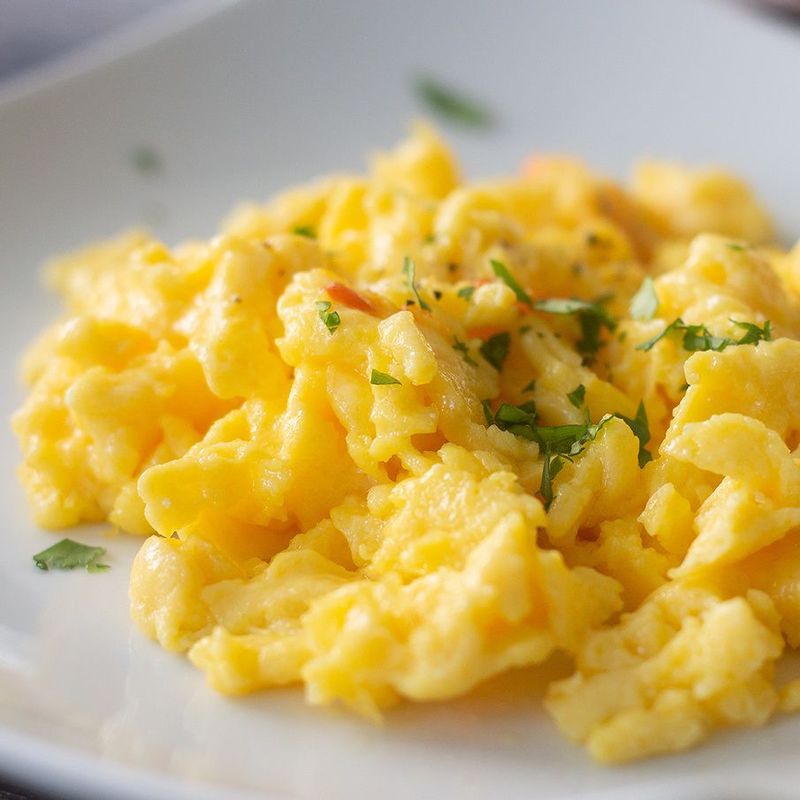
11. Use Half-and-Half for Fluffiness
Adding a splash of half-and-half or heavy cream makes scrambled eggs fluffier and more stable. The fat content helps create a rich, creamy texture. Use about one tablespoon of cream per two eggs. Mix it in when you whisk the eggs before cooking for even distribution. Milk works too, but cream gives better results because of the higher fat content. The dairy also helps prevent the eggs from overcooking and becoming rubbery.
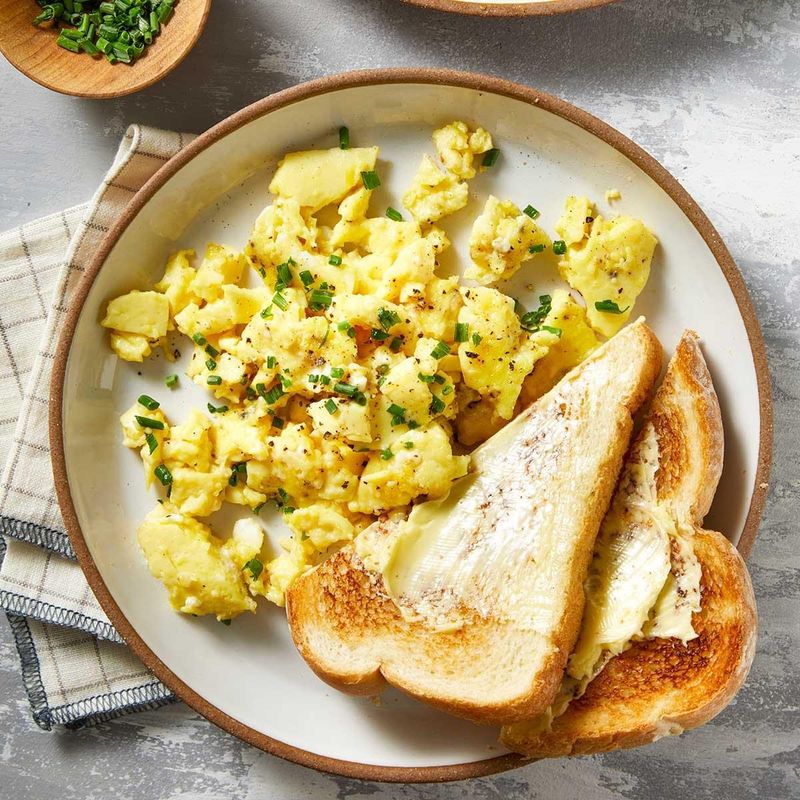
12. Avoid Overcooking
Eggs continue cooking even after you remove them from heat, so take them off the burner just before they reach your desired doneness. Scrambled eggs should look slightly wet when you remove them from the pan. They’ll finish cooking from residual heat in about 30 seconds. Overcooked eggs become rubbery and dry, losing their creamy texture. Watch them carefully during the period of cooking to catch them at the right moment.
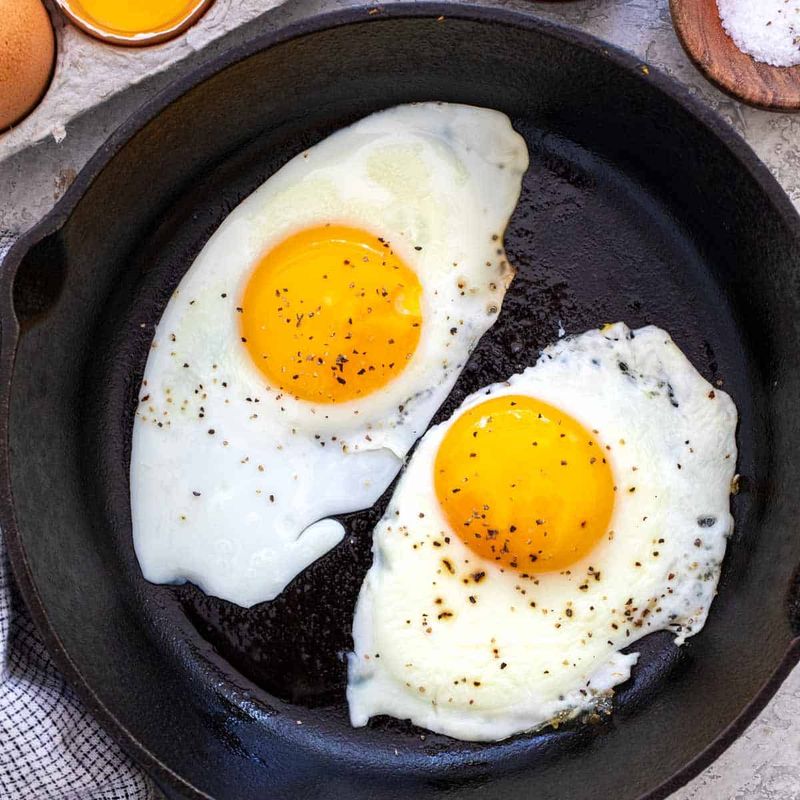
13. Use a Lid for Fried Eggs
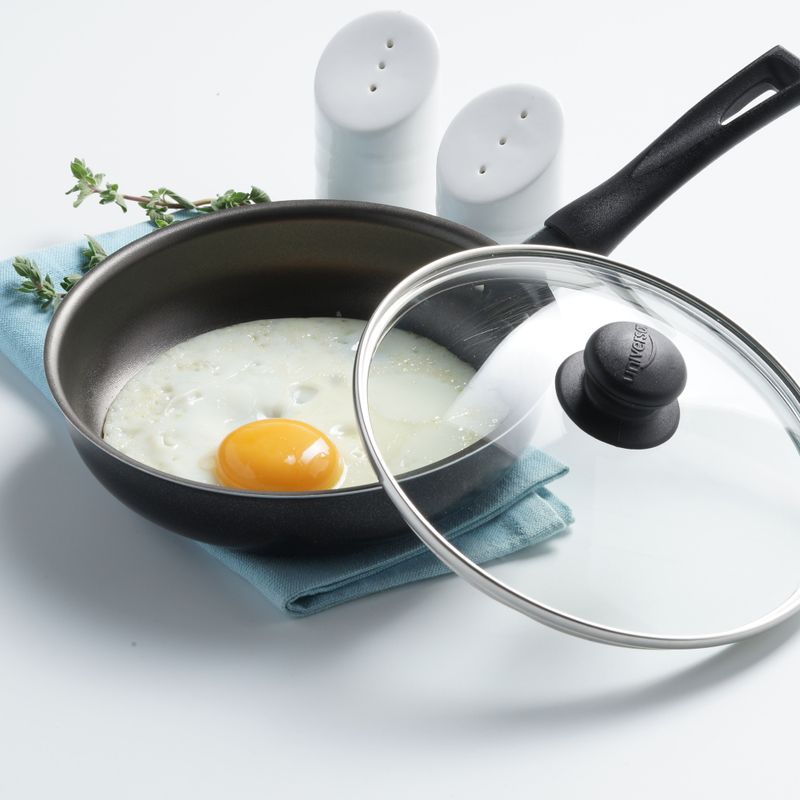
Covering the pan while frying eggs helps cook the whites on top without flipping. This technique works especially well for over-easy eggs. Put the lid on after the bottom whites are mostly set, usually after about 2 minutes. The trapped steam gently cooks the top portion. This method lets you control exactly how runny you want the yolk while ensuring the whites are completely cooked through. Remove the lid to check progress.
14. Peel Hard-Boiled Eggs Under Running Water
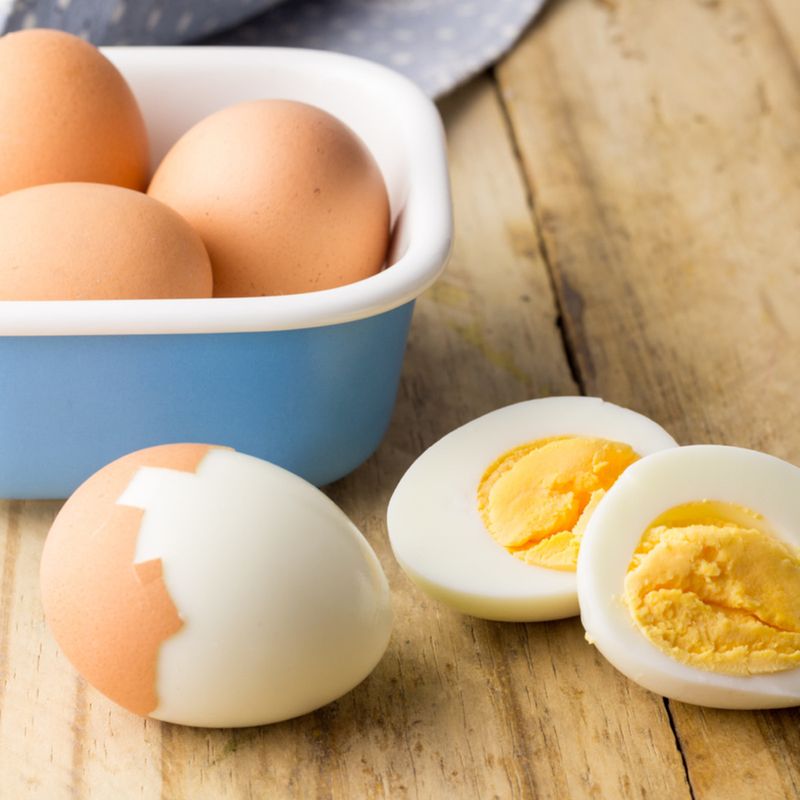
Running cool water over hard-boiled eggs while peeling makes the shells come off much easier and prevents tearing the whites underneath. Start peeling from the larger end where the air pocket is located. The water helps separate the shell from the egg white membrane. Roll the egg gently on the counter first to crack the shell all over, then start peeling under the water stream for better results.
15. Store Eggs Properly

Keep eggs in their original carton rather than transferring them to the door compartments. The carton protects them from absorbing odors and prevents moisture loss. Store them in the main compartment of the refrigerator where the temperature stays most consistent. The door opens frequently, causing temperature fluctuations. The carton also has the expiration date printed on it, helping you track freshness. Properly stored eggs can last 3-5 weeks past their sell-by date.