15 Practical Tips for Cooking Chicken at Home
Cooking chicken at home can be simple and approachable. With the right techniques and a little practice, you can make juicy, flavorful chicken dishes that will impress your family and friends. Whether you’re a beginner cook or someone looking to improve your skills, these tips will help you master the art of cooking chicken. From basic safety rules to diverse cooking methods, these ideas will make your chicken dishes taste restaurant-quality right in your own kitchen.
1. Use a Meat Thermometer
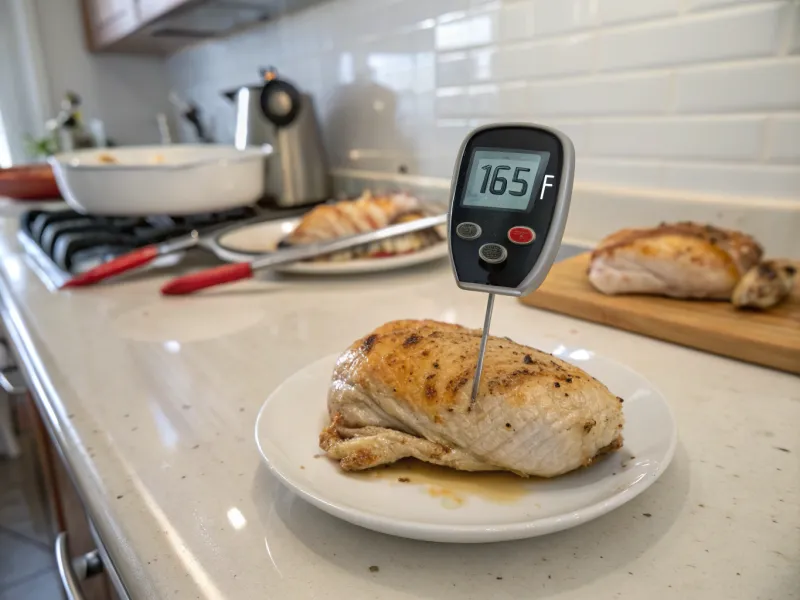
Temperature matters more than time when cooking chicken safely. A meat thermometer takes the guesswork out of knowing when your chicken is fully cooked and safe to eat. Insert the thermometer into the thickest part of the meat, avoiding bones. Chicken needs to reach 75°C (165°F) internally to eliminate harmful bacteria. This simple tool prevents both undercooked and overcooked chicken. Digital thermometers give quick, accurate readings and cost less than twenty dollars. Keep one in your kitchen drawer and use it for versatile chicken dish you make.
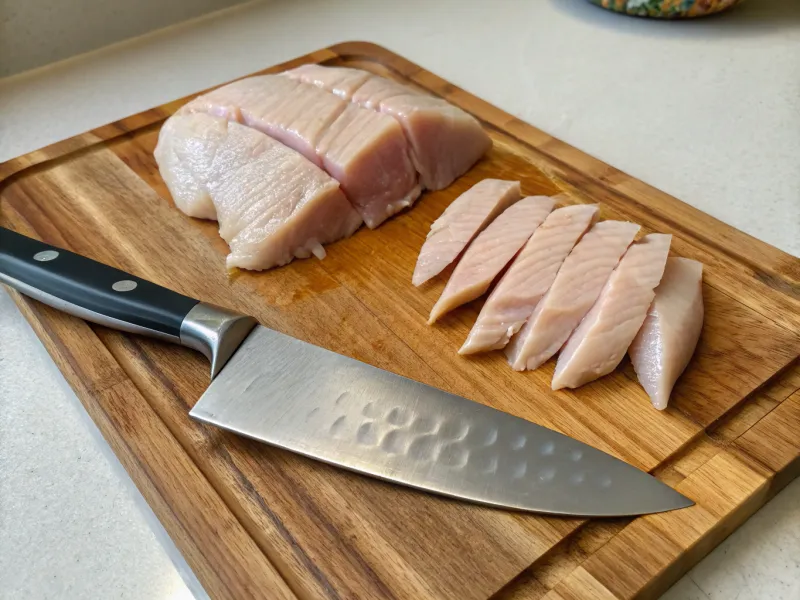
2. Pound Chicken Breasts to Even Thickness
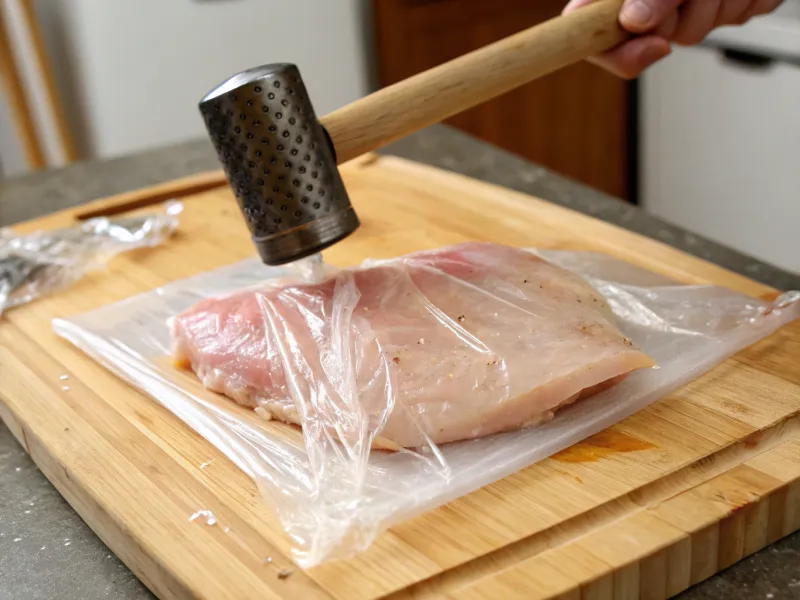
Chicken breasts naturally have thick and thin areas that cook at different rates. Pounding them to an even thickness ensures every part cooks at the same speed, preventing dry spots. Place chicken between plastic wrap or parchment paper. Use a meat mallet or rolling pin to gently pound the thicker areas until the whole breast is about three-quarters of an inch thick. This technique cuts cooking time in half and makes the meat more tender. Your chicken will cook evenly from edge to edge without any raw or overcooked sections.
3. Marinate in Yogurt for Tender Results
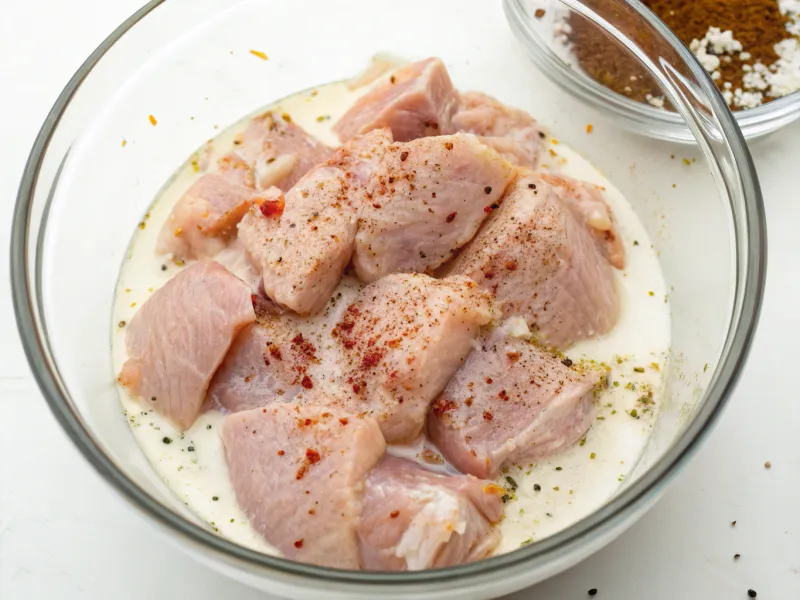
Plain yogurt contains natural enzymes that break down tough muscle fibers in chicken. This ancient cooking method from Middle Eastern cuisine works better than many other marinades. Mix plain yogurt with your favorite spices like garlic powder, paprika, and black pepper. Let the chicken soak in this mixture for at least two hours or overnight in the refrigerator. The acid in yogurt tenderizes the meat while keeping it moist during cooking. Rinse off excess marinade before cooking to prevent burning, and enjoy incredibly tender chicken that falls off the bone.
4. Pat Chicken Completely Dry Before Cooking
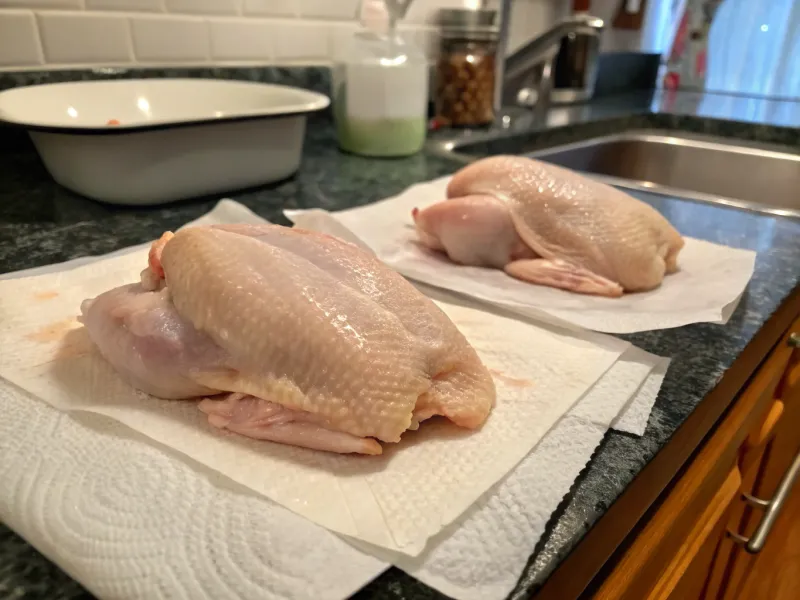
Moisture on chicken skin prevents browning and makes steam instead of the crispy exterior you want. Removing this moisture is a simple step that makes a huge difference. Take chicken out of packaging and use paper towels to pat every surface completely dry. Pay attention to skin folds and crevices where water likes to hide. Dry chicken browns faster and develops better flavor through the Maillard reaction. This chemical process only happens when moisture evaporates first, so taking time to dry your chicken properly pays off with better taste and texture.
5. Brine Chicken in Salt Water for Maximum Juiciness
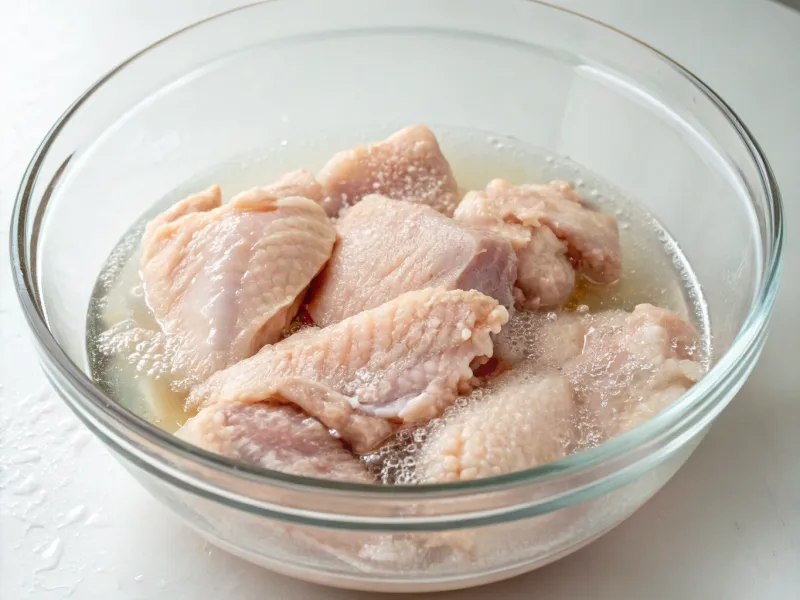
Brining changes the protein structure in chicken, allowing it to hold more moisture during cooking. This restaurant technique works for any cut of chicken you plan to cook. Mix four tablespoons of salt with four cups of cold water until dissolved. Submerge chicken in this solution for thirty minutes to two hours depending on size. The salt breaks down proteins and helps them retain water better when heated. Rinse the chicken after brining and pat dry before cooking. Your chicken will stay juicy even if you accidentally overcook it slightly.
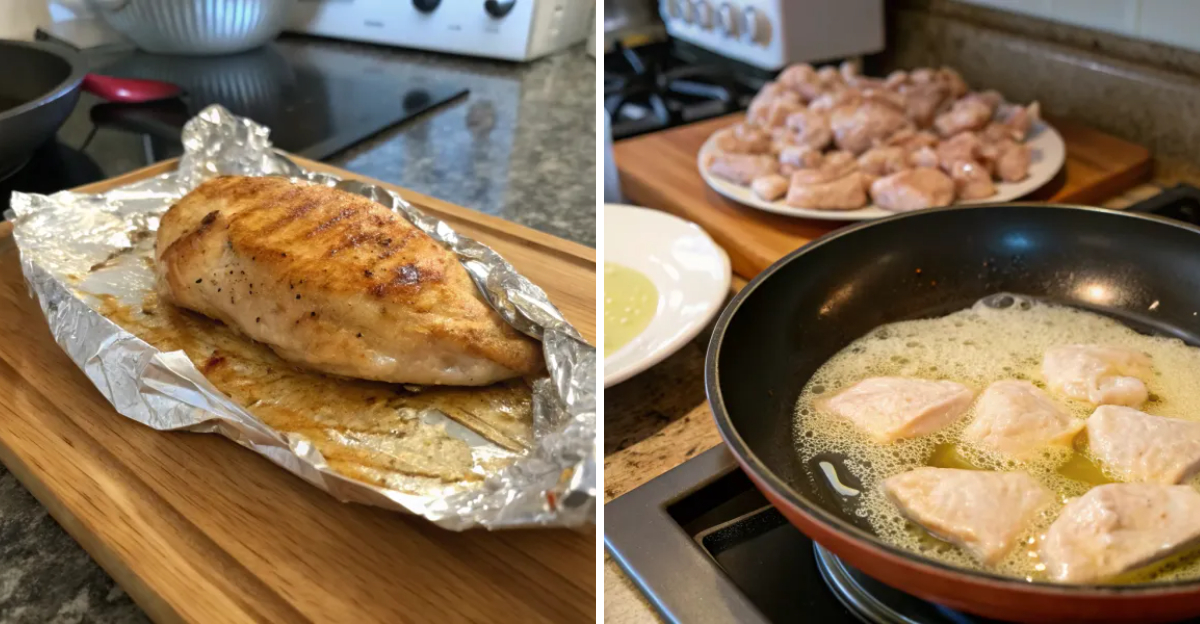
6. Cook Chicken in a Cast Iron Skillet
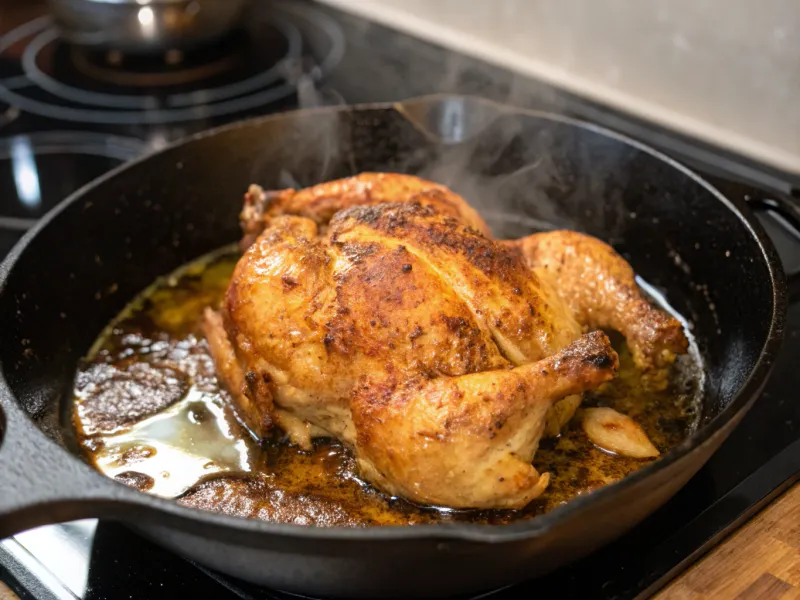
Cast iron holds heat better than other pans and makes an even cooking surface that prevents hot spots. This heavy cookware gives you restaurant-quality results at home. Preheat your cast iron skillet over medium heat for five minutes before adding oil. The pan should be hot enough that a drop of water sizzles immediately. Cast iron develops a natural non-stick surface over time and adds a small amount of iron to your food. Start chicken skin-side down and avoid moving it too soon to get a golden crust that seals in juices.
7. Stuff Herbs Under the Skin

Placing fresh herbs directly under chicken skin infuses the meat with intense flavor that penetrates deeper than surface seasonings. This professional technique looks impressive but stays simple to do. Gently loosen skin from the meat using your fingers, being careful not to tear it. Slide fresh herbs like rosemary, thyme, or sage underneath the skin and smooth it back down. The herbs steam the meat from inside while the skin protects them from burning. This method works especially well for whole chickens or bone-in pieces where the skin stays intact during cooking.
8. Let Chicken Rest After Cooking
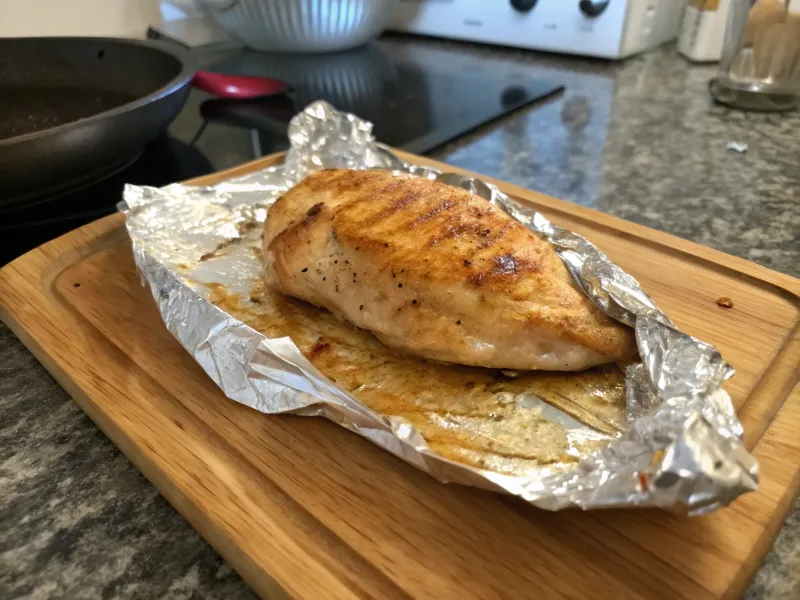
Resting cooked chicken allows juices to redistribute throughout the meat instead of running out when you cut it. This waiting period makes the difference between juicy and dry chicken. Remove chicken from heat and place it on a cutting board. Cover loosely with foil and wait five to ten minutes before slicing or serving. During cooking, heat pushes juices toward the center of the meat. Resting time lets these juices flow back through the entire piece, ensuring every portion stays moist and flavorful when you eat it.
9. Use Coconut Oil for High-Heat Cooking
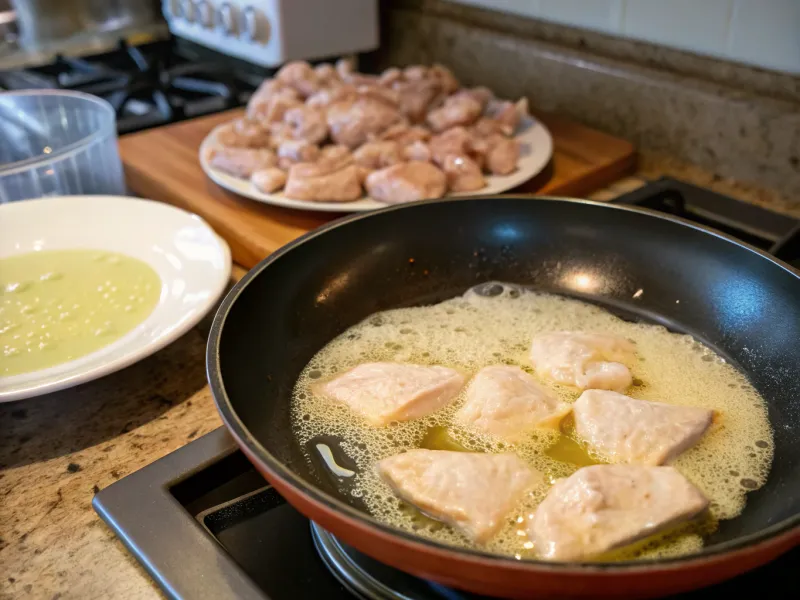
Coconut oil has a higher smoke point than olive oil, making it better for searing chicken at high temperatures. This tropical fat adds subtle flavor while preventing burning. Heat coconut oil in your pan until it shimmers but doesn’t smoke. The oil should coat the pan evenly and move freely when you tilt it. Coconut oil stays stable at high heat and won’t break down into harmful compounds like some other oils. It also helps chicken skin become crispy while keeping the meat moist underneath during the cooking process.
10. Try Poaching for More Tender Chicken
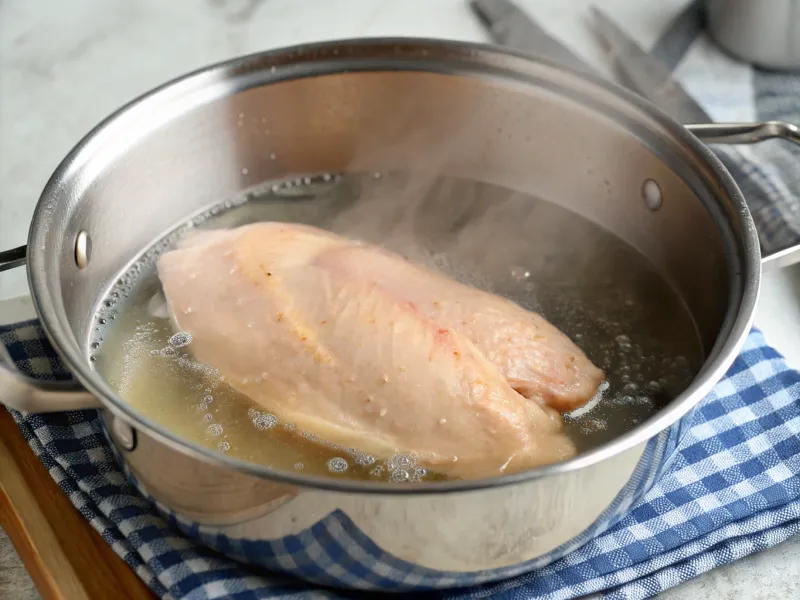
Poaching cooks chicken gently in barely simmering liquid, creating incredibly tender meat that shreds easily. This low-temperature method prevents the proteins from toughening up during cooking. Fill a pot with enough water or broth to cover chicken pieces. Heat until small bubbles form on the bottom but don’t let it boil hard. Add chicken and maintain gentle heat for fifteen to twenty minutes depending on thickness. The liquid should barely move around the edges. This technique works for chicken salad, soups, or any recipe calling for shredded chicken.
11. Score Chicken Thighs for Even Cooking
Making shallow cuts in thick chicken thighs helps them cook evenly and prevents the skin from shrinking. This simple knife technique ensures consistent results every time. Use a sharp knife to make diagonal cuts about one-quarter inch deep across the thickest parts of the thigh. Space cuts about one inch apart. Scoring allows heat to penetrate deeper into the meat and prevents the skin from pulling up during cooking. The cuts also help marinades and seasonings reach more of the meat for better flavor throughout each portion.
12. Cook Chicken on a Bed of Vegetables
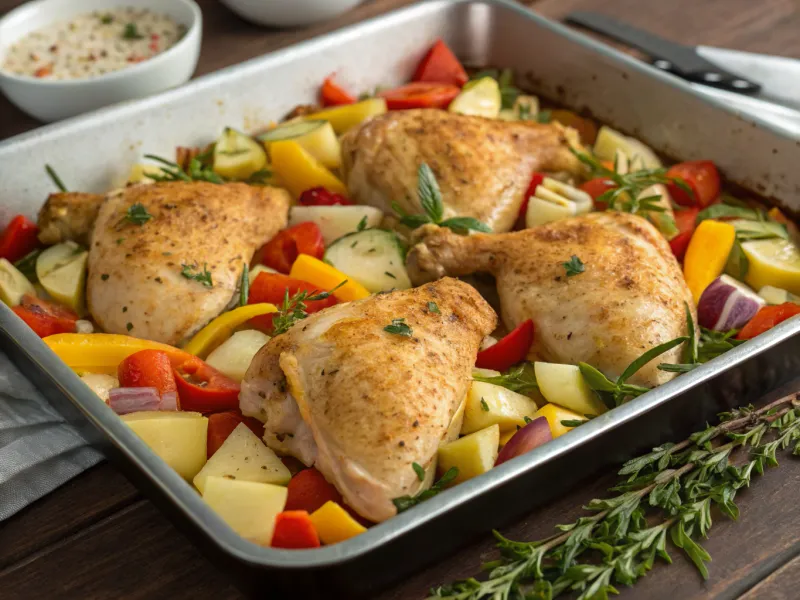
Placing chicken on top of chopped vegetables makes a natural roasting rack that prevents sticking while adding flavor to both the meat and vegetables underneath. Chop onions, carrots, and celery into large pieces and spread them in your roasting pan. Place seasoned chicken on top of this vegetable bed. The vegetables release moisture that keeps chicken from drying out while absorbing delicious drippings from above. This one-pan method saves cleanup time and gives you a complete meal with cooked vegetables and juicy chicken.
13. Freeze Chicken in Individual Portions
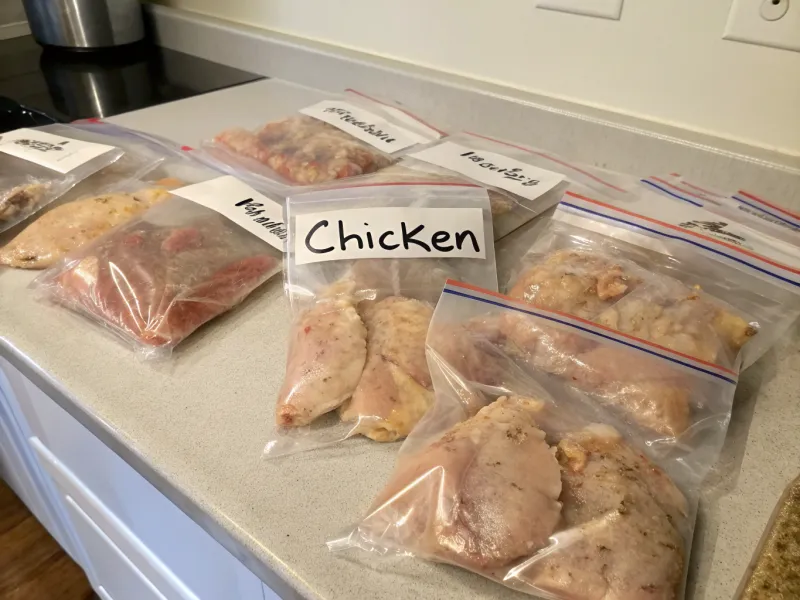
Freezing chicken in meal-sized portions makes weeknight cooking faster and reduces food waste. This preparation method helps you always have properly portioned chicken ready to thaw. Divide large packages of chicken into serving sizes for your family. Wrap each portion tightly in plastic wrap, then place in freezer bags with the date written clearly. Individual portions thaw much faster than large packages and prevent you from defrosting more chicken than you need. Label each package with the cut and date so you can use older chicken first.
14. Season Chicken Some Minutes Before Cooking
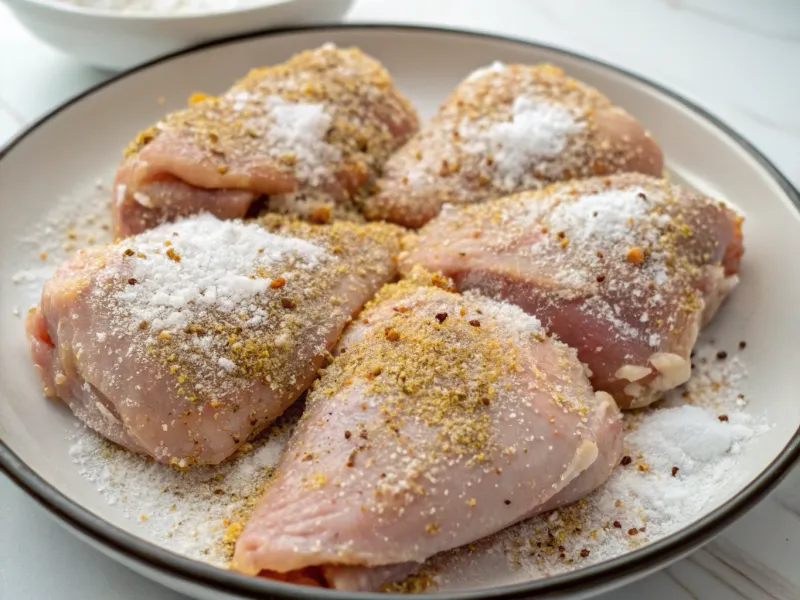
Salt and spices need time to penetrate chicken meat for the better flavor. Seasoning just before cooking only flavors the surface, leaving the inside bland. Sprinkle salt and your favorite spices on chicken pieces at least thirty minutes before cooking. For even better results, season several hours ahead or overnight. Salt draws moisture out initially, then the meat reabsorbs it along with the seasonings. This process, called dry brining, seasons the meat throughout while helping it stay juicy during cooking. Plan ahead for much more flavorful results.
15. Save and Use Chicken Drippings
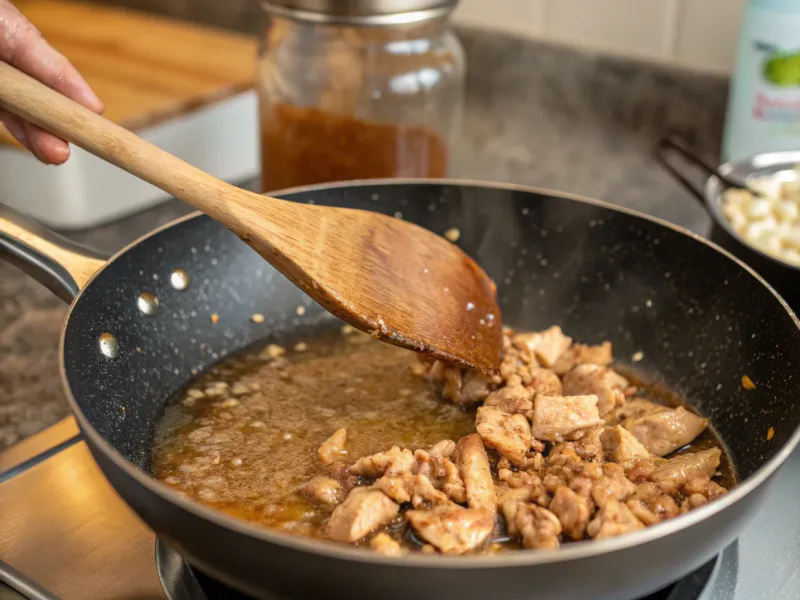
The browned bits and juices left in your pan after cooking chicken contain concentrated flavor that makes incredible gravies and sauces. Never throw away these tasty drippings. After removing cooked chicken, add a little water or broth to the hot pan and scrape up the browned bits with a wooden spoon. This process is called deglazing. These drippings can become pan gravy, soup base, or sauce for your next meal. Store them in the refrigerator for up to three days or freeze in ice cube trays for longer storage and easy portioning.