15 Mistakes Everyone Makes When Breading Chicken
Breading chicken seems simple, but one small misstep can lead to soggy, uneven, or bland results. Here are 15 common mistakes everyone makes when breading chicken—and how to avoid them for crispy, golden perfection every time.
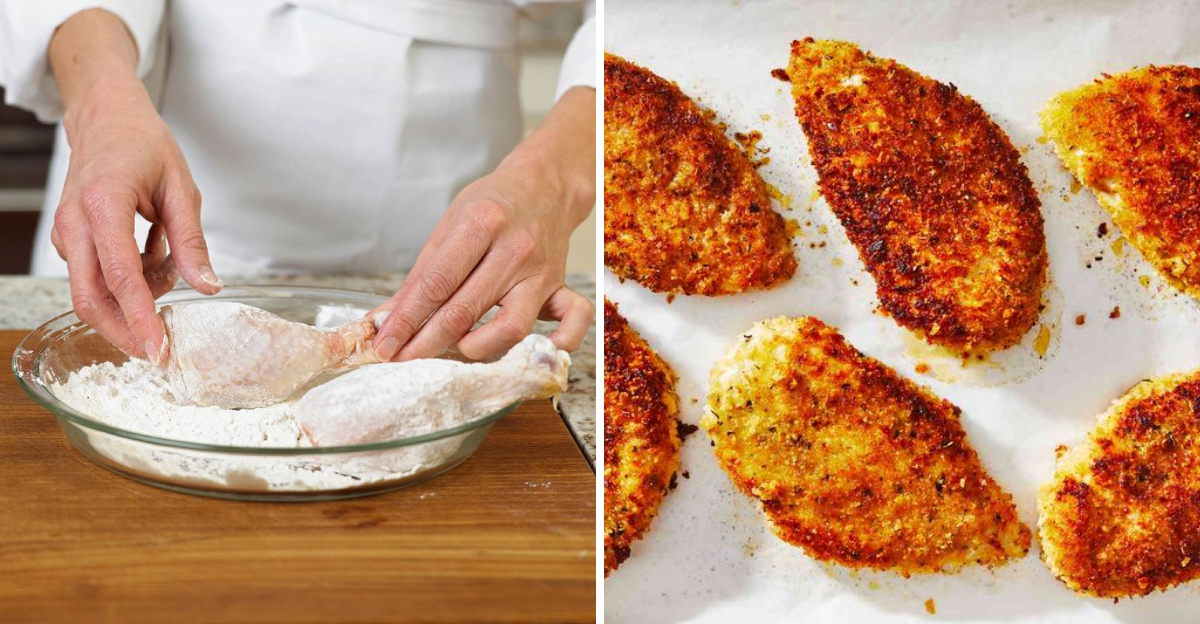
1. Skipping the Pat Dry Step
Moisture on the surface of chicken prevents the breading from sticking properly, making it steam instead of crisp. Always pat chicken dry with paper towels first. This simple step ensures that your breading will adhere properly and results in a crispy, delicious coating. Neglecting this step can leave you with a soggy, disappointing crust. No one likes soggy chicken! Therefore, to achieve the perfect crunch, remember to take the time to pat your chicken dry thoroughly. It’s a small effort that makes a big difference in the final dish.
2. Not Seasoning Every Layer
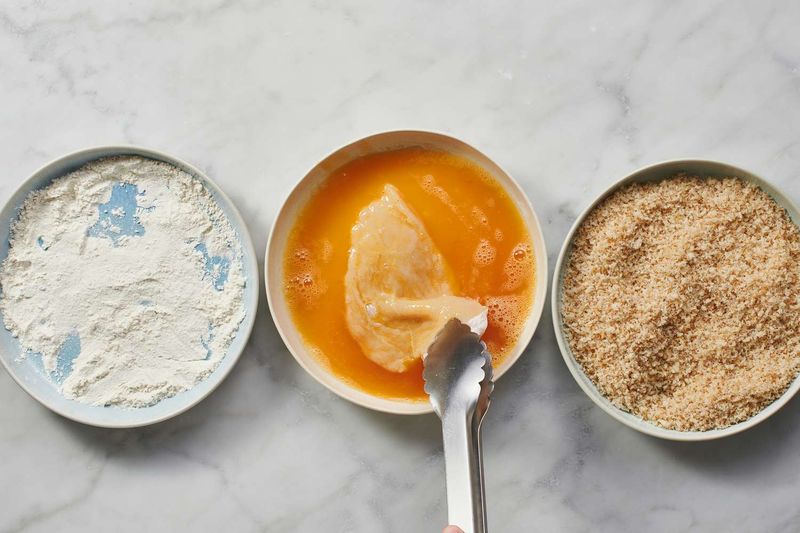
For maximum flavor, season the flour, the egg wash, and the breadcrumbs—not just the chicken. Each layer contributes to the taste and texture of the final dish. Imagine bland chicken beneath a beautifully golden crust; it’s a missed opportunity for flavor. Properly seasoning each component ensures every bite is a delightful experience. This practice can elevate a simple chicken dish into something extraordinary. Don’t shy away from spices; they are your allies in crafting a flavorful meal.
3. Using Cold Chicken Straight from the Fridge
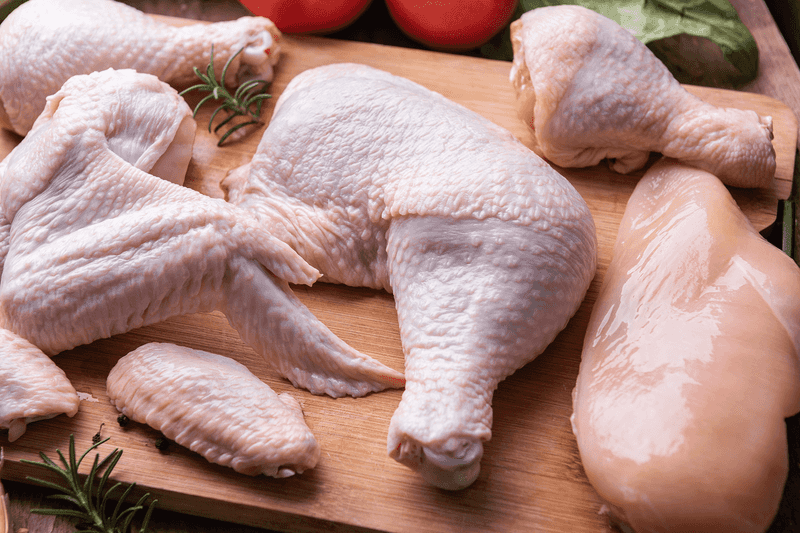
Cold meat can cause the coating to seize or fall off when it hits hot oil. Let chicken sit at room temperature for 15–20 minutes before breading. This allows the chicken to cook more evenly and ensures the breading stays intact. Cooking straight from the fridge is a common mistake that leads to uneven cooking and potential food safety issues. Allowing chicken to come to room temperature is a simple step that can greatly improve the quality of your final dish.
4. Skipping the Flour Dredge

Flour creates a dry surface for the egg wash to stick to. Skipping it leads to uneven or patchy breading. This vital step ensures that the coating adheres properly and cooks evenly. Without it, you risk the breading slipping off during frying, leaving you with a less appealing final product. The flour dredge is an essential part of the breading process that should not be overlooked. For a uniform and crispy crust, always include the flour dredge in your preparation.
5. Using One Hand for Both Wet and Dry Steps
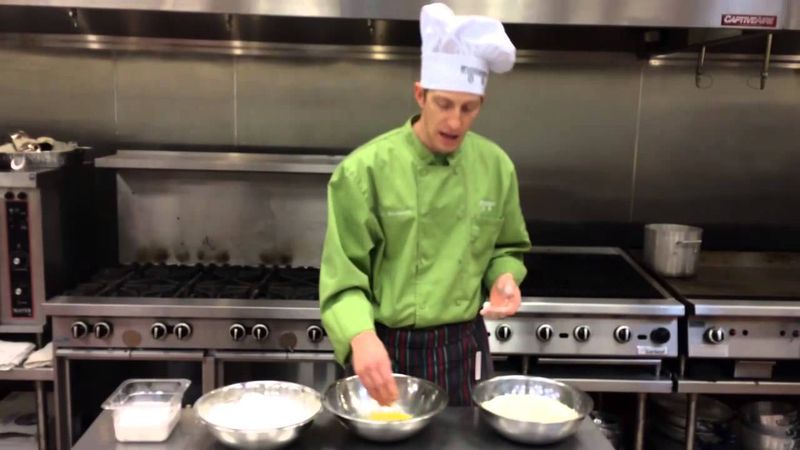
Switch between one hand for dry ingredients and one for wet to avoid breading buildup on your fingers, also known as “clubbing.” This technique keeps your workspace clean and prevents the chicken from becoming a mess. It’s a simple yet effective way to streamline the breading process. By designating one hand for each task, you can work more efficiently and achieve a perfect, even coating on your chicken.
6. Overcrowding the Pan

Too many pieces at once lowers the oil temperature, leading to greasy or unevenly cooked chicken. Cook in batches to ensure each piece has enough room to cook properly. Overcrowding the pan is a common mistake that can compromise the texture and flavor of your chicken. By giving each piece the space it needs, you allow for even cooking and a crisp, golden crust. Patience is key to achieving the perfect fried chicken.
7. Not Letting the Breading Set

After breading, let the chicken rest for 10–15 minutes before cooking. This helps the coating adhere and prevents it from sliding off during frying. The resting period allows the breading to bond with the chicken, ensuring it stays put in the pan. Skipping this step can lead to disappointment as your hard work peels away. Give the chicken a little time to set, and you’ll be rewarded with a consistently crispy result.
8. Using the Wrong Breadcrumbs
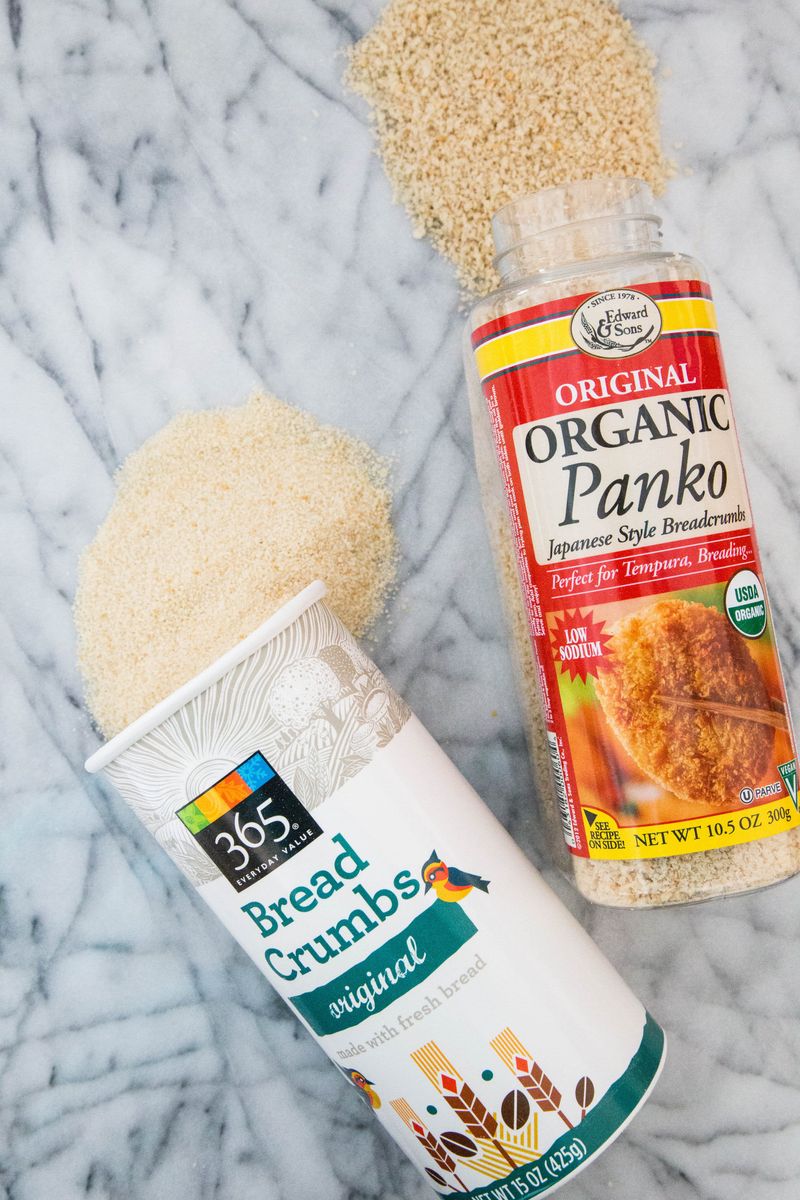
Plain or fine breadcrumbs can yield a mushy texture. Use panko for a lighter, crunchier coating—or combine the two for balance. The choice of breadcrumbs greatly impacts the final texture of your chicken. Panko offers an airy, crisp finish that standard breadcrumbs may not provide. Experimenting with different types can help you find the perfect balance for your taste. Don’t settle for a less-than-perfect crust; choose your breadcrumbs wisely.
9. Skipping the Egg Wash

The egg is the essential binder between flour and breadcrumbs. Without it, your coating will fall right off. The egg wash acts as a glue, holding each layer in place. Skipping this step can lead to a disappointing, patchy crust that doesn’t adhere properly. Make sure to thoroughly coat the chicken with egg wash to ensure a robust and consistent crust. It’s a crucial step for achieving the perfect breaded chicken.
10. Using Wet Breadcrumbs or Old Crumbs
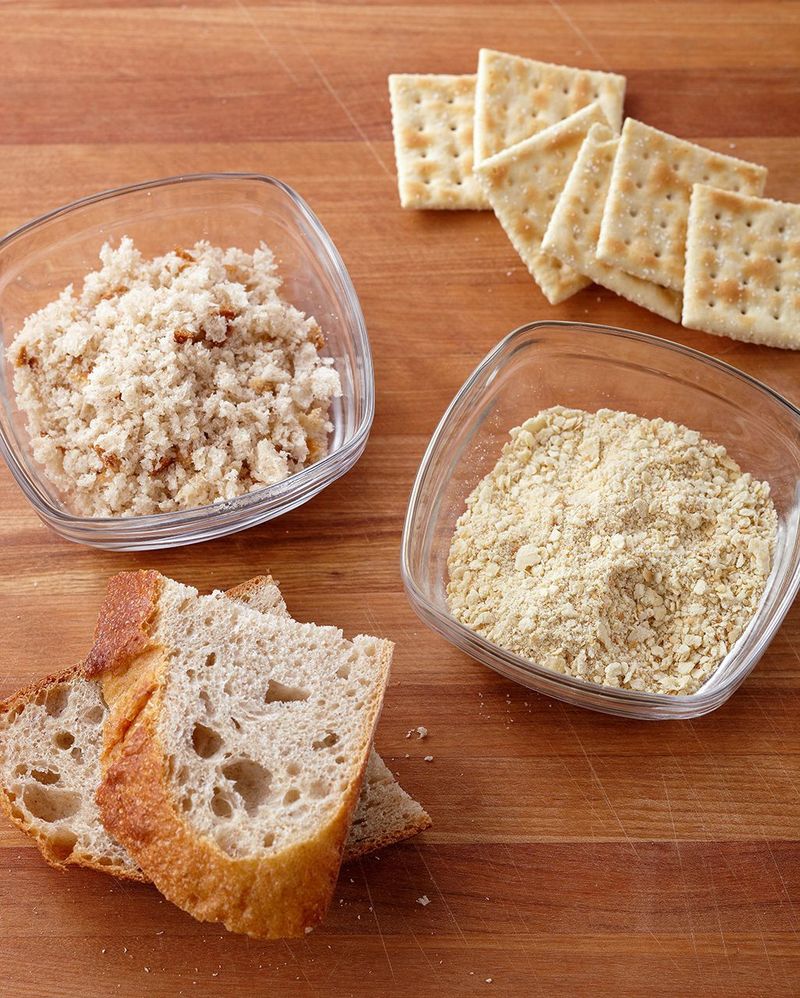
Stale or moist breadcrumbs won’t crisp up properly. Always use fresh, dry crumbs for best results. The freshness of your breadcrumbs can make or break the texture of your final dish. Old or damp crumbs fail to provide the desired crunch, leaving you with a lackluster end product. By ensuring your breadcrumbs are in top condition, you set the stage for a superior crispy coating. Invest in quality crumbs for a top-notch breaded chicken.
11. Not Controlling Oil Temperature
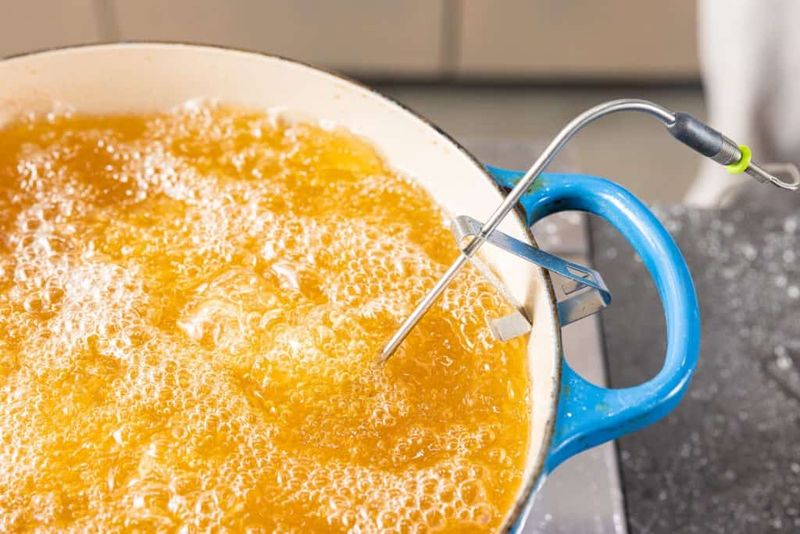
Too hot, and the breading burns before the chicken cooks. Too cool, and it absorbs oil and becomes greasy. Aim for 350–375°F (175–190°C) for optimal results. Maintaining the right oil temperature is crucial for achieving perfectly fried chicken. An incorrect temperature can drastically affect the texture and flavor, leading to disappointment. By monitoring the oil carefully, you ensure a golden, crispy, and perfectly cooked coating. Invest in a reliable thermometer to master this essential aspect of frying.
12. Flipping the Chicken Too Soon
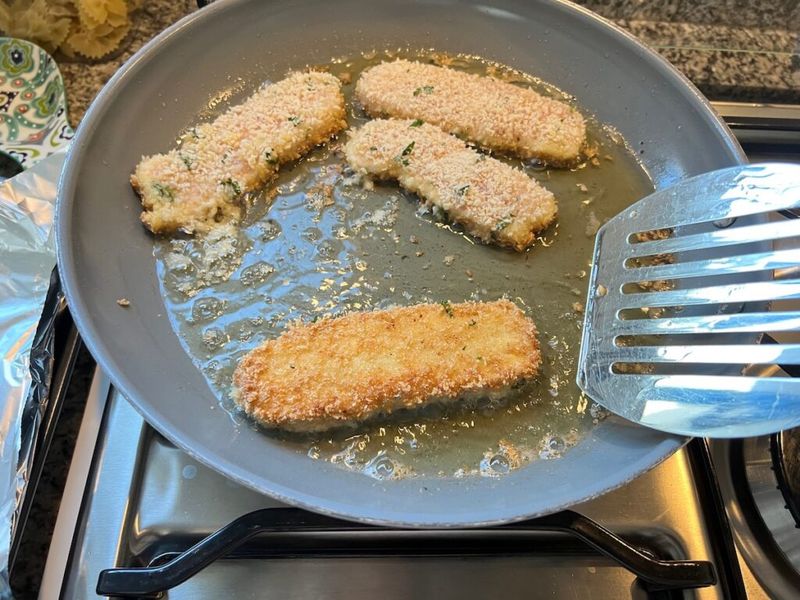
Let the crust form and release naturally before flipping. Forcing it can tear off the breading. Patience is vital when frying chicken, as rushing the process can ruin the carefully crafted crust. Allow the chicken to develop a solid, golden exterior before turning. This ensures the breading stays intact and results in a beautiful, evenly cooked piece. By exercising patience, you achieve a perfect, uninterrupted crust.
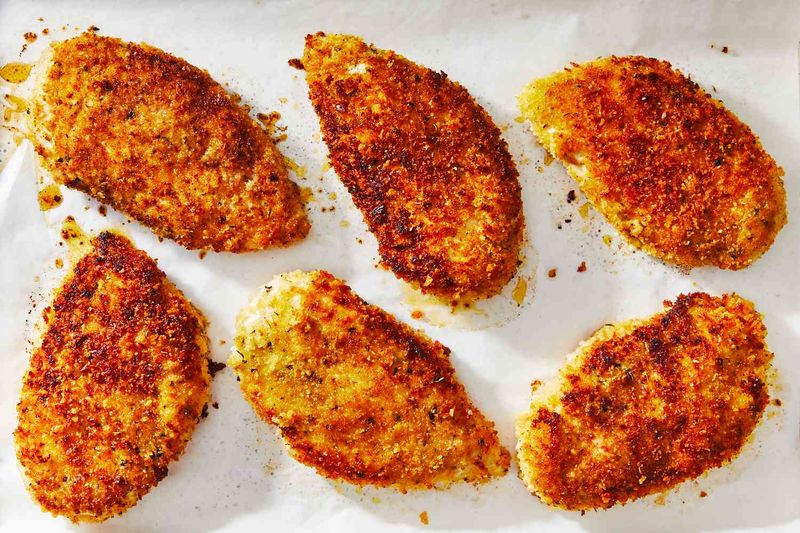
13. Not Draining Properly

Set fried chicken on a wire rack—not paper towels—which can trap steam and soften your hard-earned crunch. Proper draining is key to maintaining the crispy texture of fried chicken. Paper towels may seem convenient, but they can lead to a soggy exterior by trapping steam. A wire rack allows air circulation, preserving the desired crunch. By taking this step, you ensure your chicken remains as delicious and crispy as possible after frying.
14. Using Low-Quality or Inadequate Oil
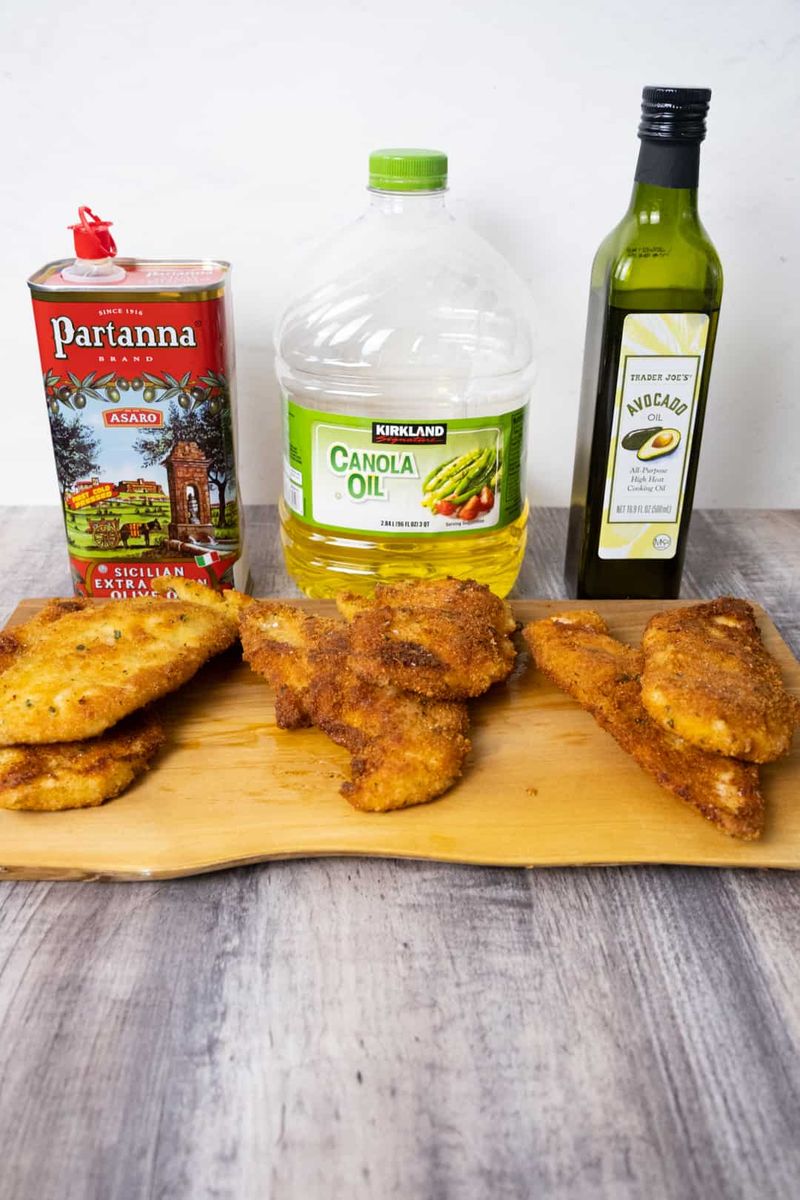
Use a neutral, high smoke point oil like canola or peanut. Olive oil and butter can burn or overpower the flavor. The right oil is crucial for frying success, as the smoke point affects how it handles high heat. Choosing an appropriate oil ensures a clean, non-greasy finish. Quality oil contributes to the overall taste and texture of the chicken, providing a deliciously crisp result. Don’t compromise on this essential ingredient; it plays a vital role in frying perfection.
15. Not Cooking Through
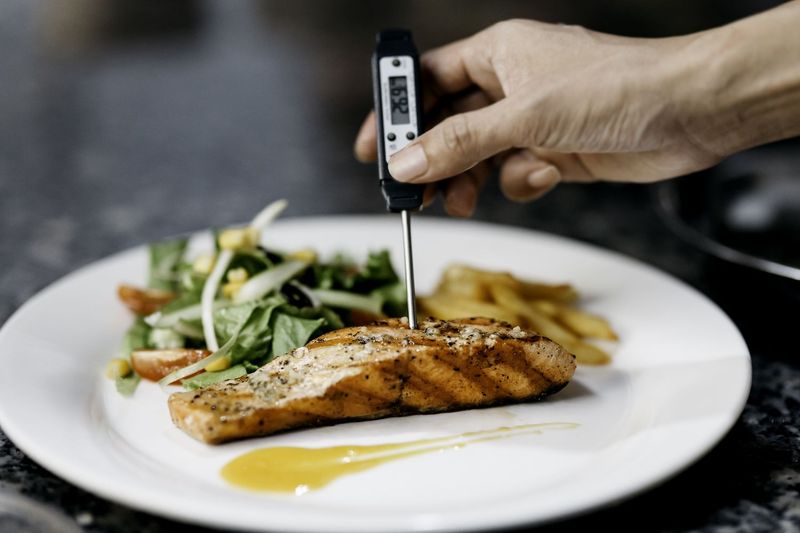
Especially with thick pieces, breading can look golden while the inside remains undercooked. Use a meat thermometer to ensure an internal temp of 165°F (74°C). Even the most beautiful crust can’t fix an undercooked center. Ensuring the meat is properly cooked is essential for both taste and safety. A meat thermometer is an invaluable tool in verifying doneness, providing peace of mind and a perfectly cooked meal. Don’t guess—measure!